Hello and welcome to part 2 of my Spandex 101 series! If you need a refresher on part 1, you can view that here.
Thank you so much for your feedback on the last post! I knew a lot of you wanted to know more about spandex, but the collective response totally blew me away. Again, if you have specific requests for topics, feel free to ask!
Today, I’m going to talk a little bit a bout pretreating your fabric, my go-to patterns, and basic modifications. I had hoped to include basic techniques as well, but this post is hefty enough as is. Next week!

Pretreating Spandex and You: A Love-Hate Relationship
Prepare your eyeballs, because I am going to confess to something scandalous: I rarely wash/pre-treat my spandex. The horror! But… not really. See, spandex is one of those magical fabrics that doesn’t really shrink. The only time that I might pre-treat my fabric is if I think colors might bleed into each other, but that’s pretty rare for me.
With costumes, I find that you have to think outside of the pre-wash “rule”. The idea is actually to treat your fabric as you intend to wash it later. I don’t know about you guys, but my full costumes never go directly in the wash. Since they’re only worn a handful of times (5-7 wears for a well-loved costume), most of the time I’ll spot clean stains and high funk areas and also Febreeze them. As soon as I get out of costume, it goes on a hanger to air dry, which also helps with odor and cleanliness. Since I wear a ton of layers with spandex, this also keeps the fabric from directly touching my skin.
Another benefit to not pre-washing spandex: it helps your fabric lay flat when cutting. When spandex gets thrown in the wash and dries, it tends to curl at the edges, sometimes by several inches. That is SUPER annoying to deal with when you’re cutting fabric.
Speaking of cutting, I mentioned last time that a rotary cutter and mat is my preferred cutting method. This is true for almost all of my sewing creations, but especially spandex. Spandex likes to slide around on itself when cutting, so being able to lay it flat on my cutting table and just go to town really alleviates some frustration. As I mentioned last time, this can be somewhat costly, but the cost is totally worth it, especially if you think you’ll make a lot of spandex costumes.
Pro-tip: if you have any resistance whatsoever when cutting, either sharpen or get a new rotary blade. Seriously, it is not worth the wrist pain to tough it out. Your lines will be cleaner and your wrists will thank you.
One more pro-tip: When cutting, point the rotary AWAY from you and always be mindful of retracting the blade. Those mofos are sharp and no one needs a trip to the ER or to get blood in spandex.

Go-To Patterns
Superhero costumes often have all sorts of crazy design elements to them, and unless you’ve stumbled across a magical resource of superhero specific patterns (please share. I will give you Internet hugs and cupcakes), you’re going to have to make your own patterns for designs. Fortunately, there are lots of awesome basic designs that you can use as templates. Here are a few of my favorites:
- Kwik Sew has tons of fantastic spandex friendly patterns for both men and women. Some of my favorites are 3154 (sadly OOP, but check eBay and Etsy!), 3052, 3636 and 3029 . Their instructions are also great. P.S., Check out WindoftheStars video on patterns.
- Jalie is a name that comes up often with skating/dance patterns. They have a huge selection, but I haven’t purchased any of their patterns yet. If anyone’s tried them, let me know what you think!
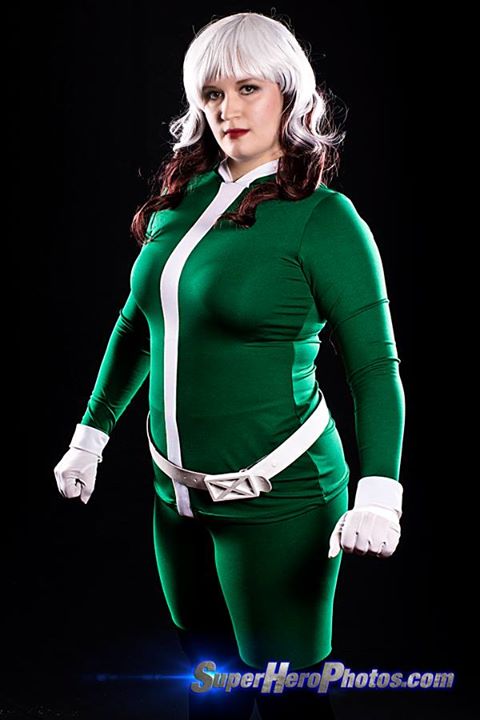
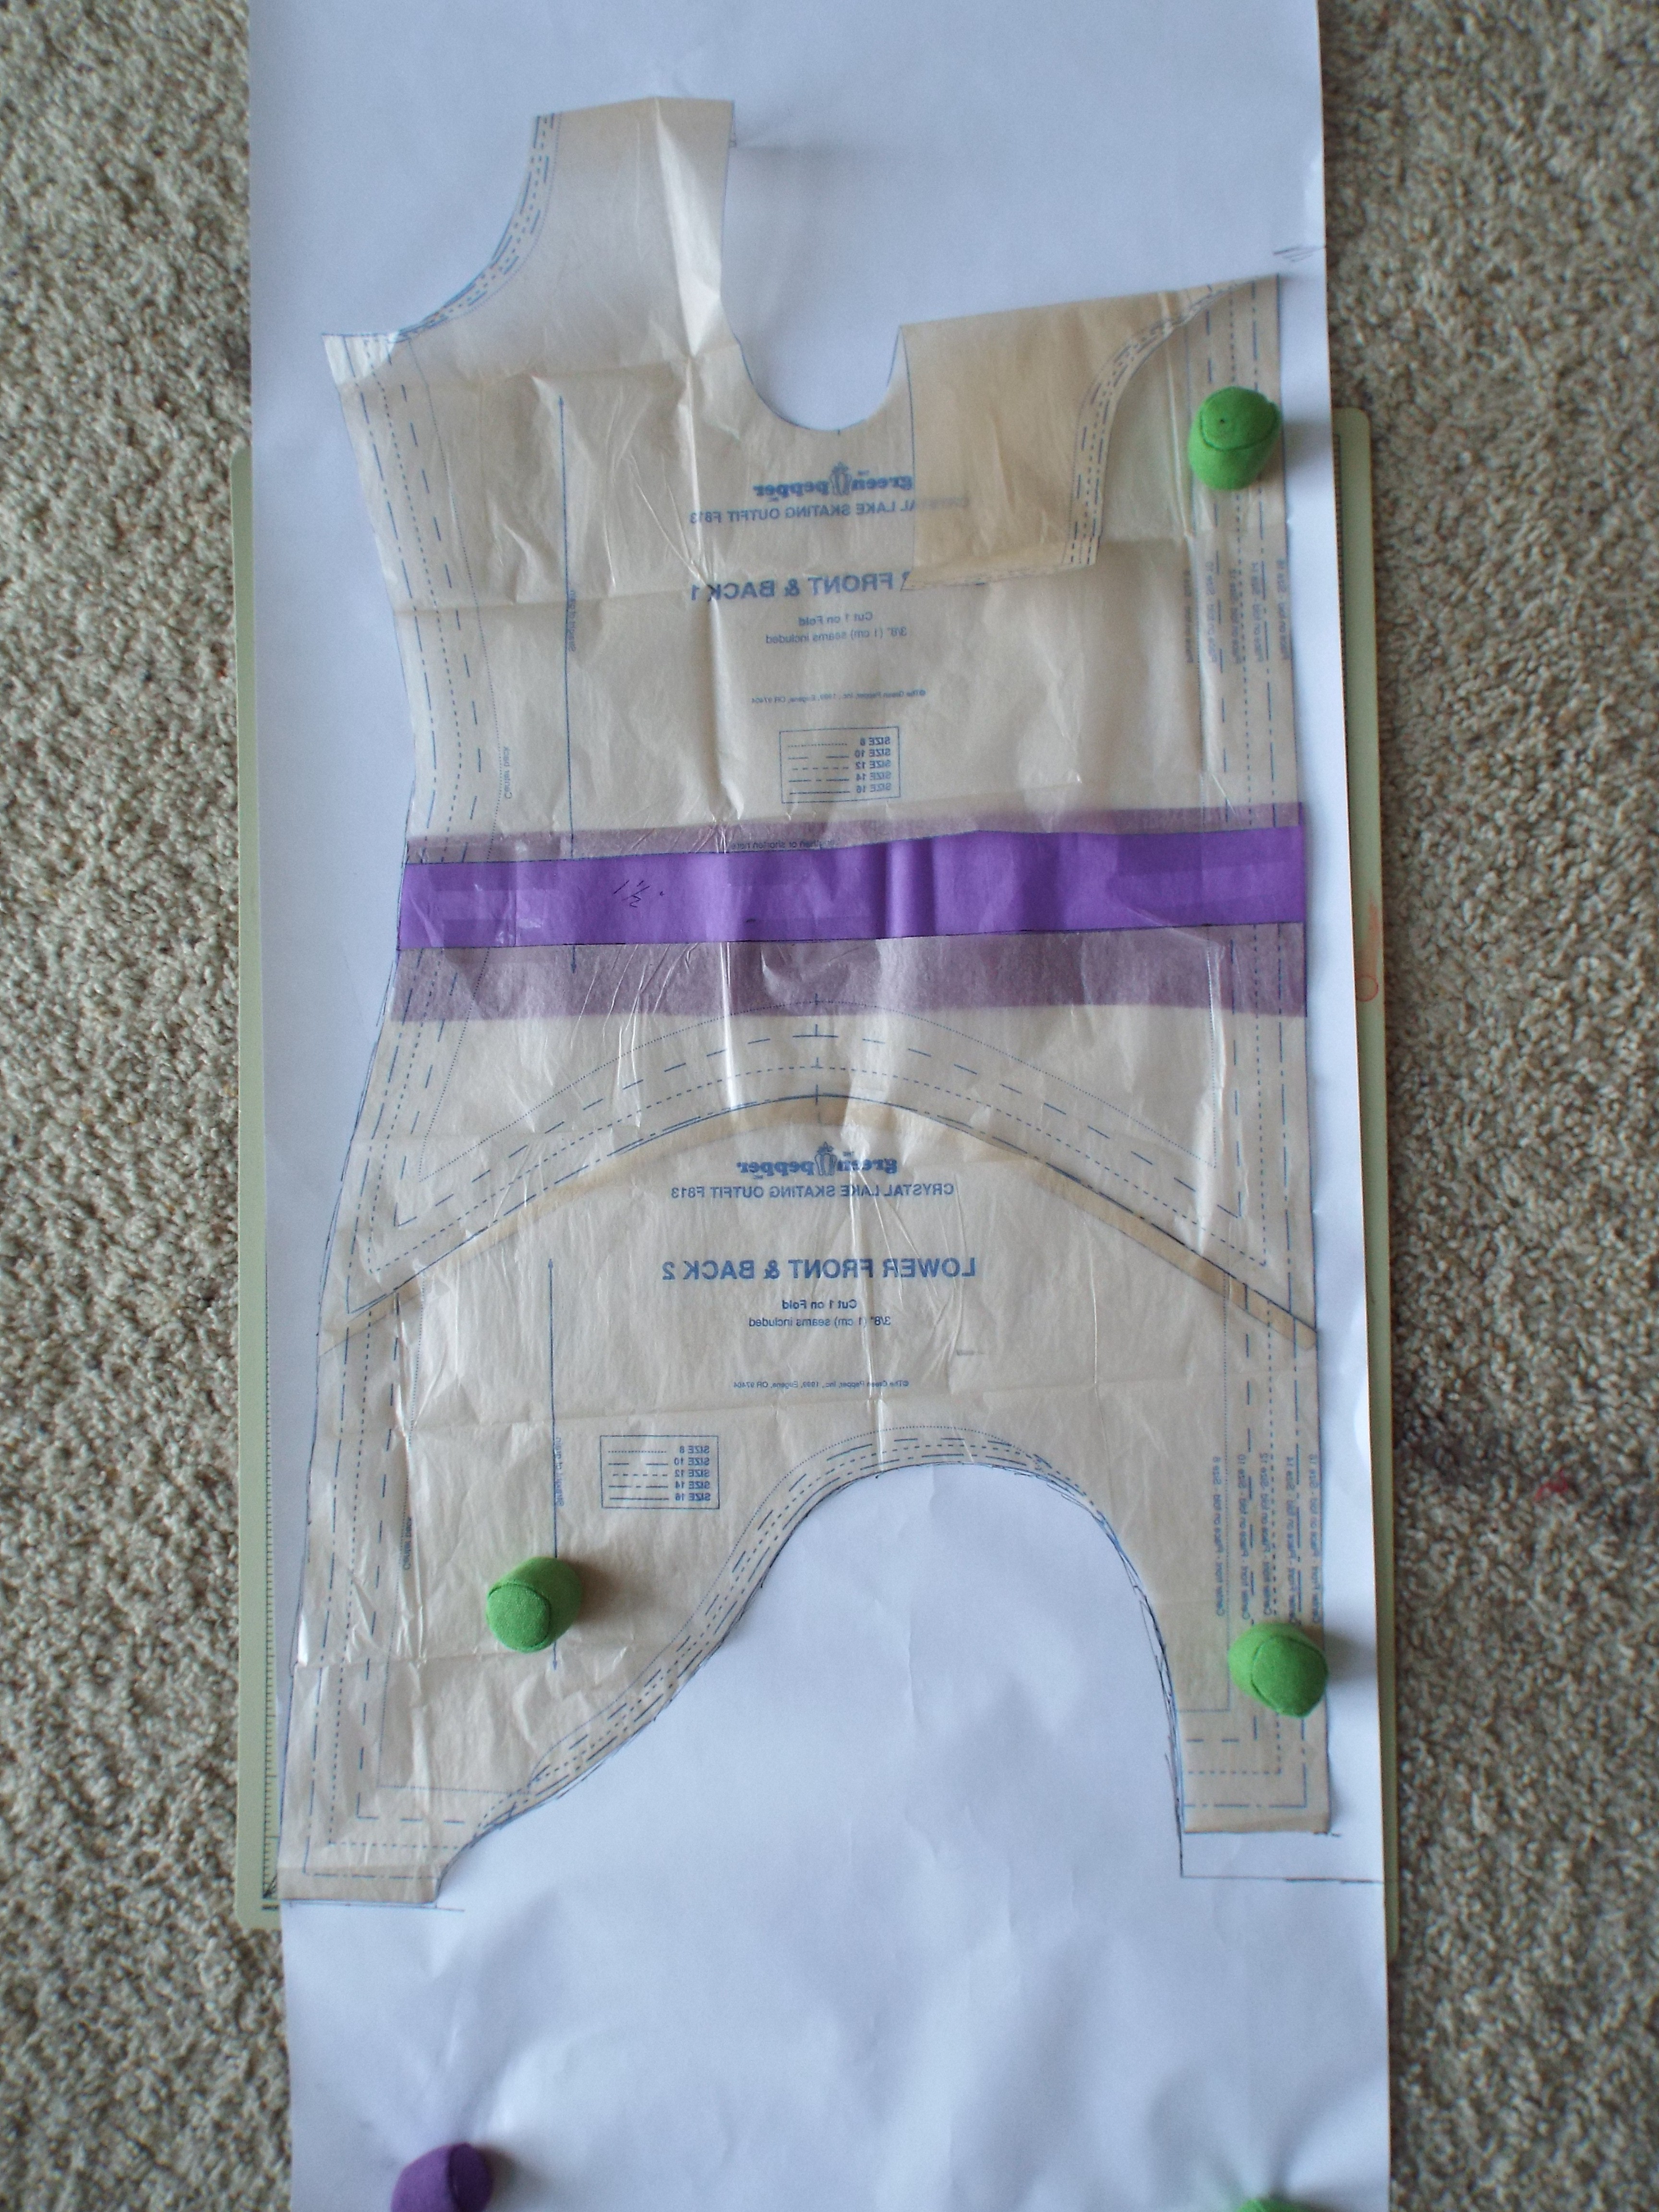
- Green Pepper’s Crystal Lake pattern (a.k.a. the sailor fuku pattern) is a good basic skater pattern. It only has one seam up the back, so there’s not a lot of places to muck up if you’re new to spandex. The only real down side is that it’s fairly limited in size, so proceed with caution. I used this pattern for my mom’s Supergirl.
- If you’re feeling brave, you can draft your own bodysuit. This page also includes instructions on how to draft a spandex hood.

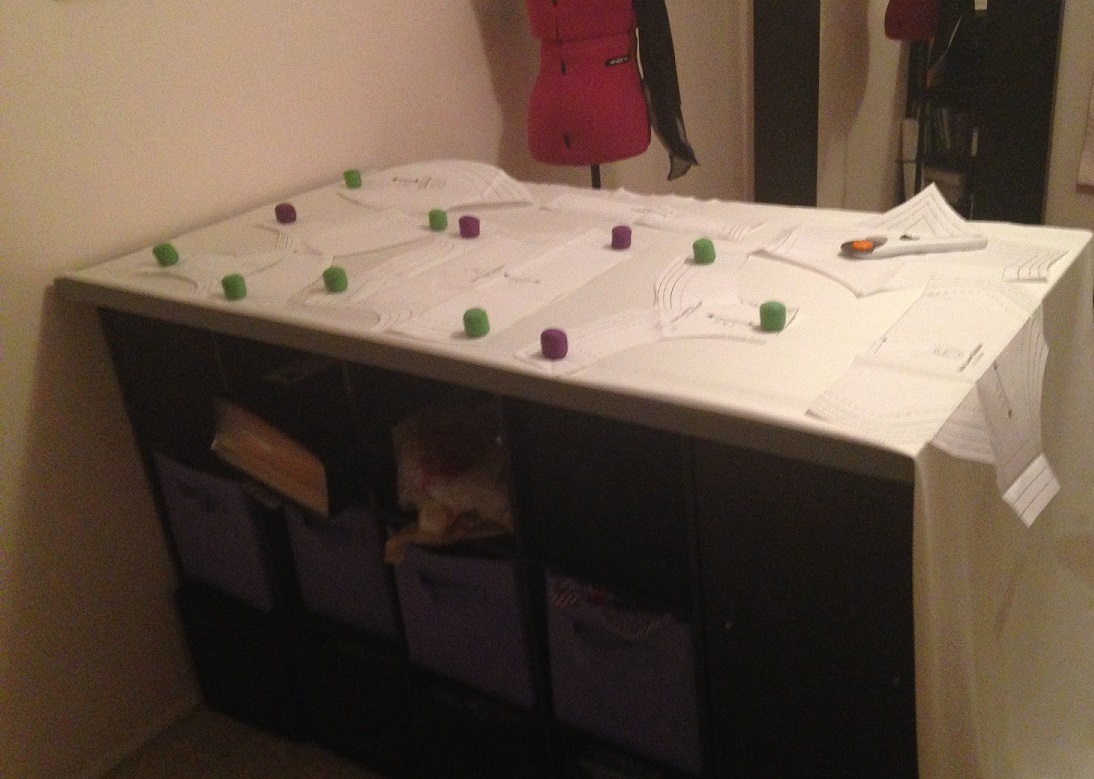
To draft some of those crazy designs, I typically create a muslin (mock-up) out of cheap spandex. Do be mindful of stretchiness, because you don’t want to make a mock-up of 4-way stretch then do a final version in 2-way stretch. It’ll look all kinds of wonky.
Once my mock-up is created, I’ll draw out the lines of the design that I need and add seam allowances if necessary. I’ll then cut up the design, make it pretty on paper, and use that paper design as my final pattern. This can take some trial and error, but it’s my favorite way of creating design elements. It works great for both inlays and appliques!
Basic Modifications
Just like other sewing projects, you have a ton of options with spandex to make a project fit you better. The most basic modifications are for height. This is where I find it helpful to look at drafting information on patterns. Kwik Sew women’s patterns are drafted for 5’6″ and accommodate for various cups based on size (a fun bit of information ONLY found on their fitting guide. Ugh). So for example, I’m typically a L in Kwik Sew patterns, and L-XL sizes are drafted for D cups, which works perfectly for me. Fortunately, you don’t really need to do FBAs for stretchy fabrics, since the stretch takes care of that for you. But it might be something to look at if you need more (or less) room with the bust or hips.
To add or reduce length for height, simply cut at the appropriate cut lines and add or reduce your length, blending between your cut pattern pieces as needed. I’m 5’10”, so I typically add 3-4″ to most of my Kwik Sew patterns. A large bust might also mean that you need more length to accommodate everything. If you make a muslin and notice the fabric uh… riding up your lady bits, that’s a good indicator to add a bit of length.
A note for choosing sizes: Wear your intended shapewear when taking measurements and choosing sizes. This is applicable to all patterns, but it’s still worth mentioning. I’ve mentioned before that I wear shapewear with spandex, which means that I often have to grade between several sizes.

Here are a few other basic modifications:
- Shifting zippers: If you’ve got a leo or a catsuit and want to move a back zip to the front (or front to back), simply subtract the seam allowance from the pattern piece for the zipper, cut the altered piece on the fabric fold, and add the zipper seam allowance to your intended pattern piece.
- Adding a zipper: Many stretchy patterns have a large hole in the back or a scoop neckline to allow the wearer to put on the garment without zips. To get past this, I just take my ruler and draw a line up the fabric using the pattern piece as a guide. If the pattern piece is supposed to be cut on the fold, add in a seam allowance (I usually use 1/2″)
- Going sleeveless: My go-to leo pattern is Kwik Sew 3154. I’ve used it for several turtleneck leotards, but many of the designs are sleeveless. For that alteration, I ditch the sleeve and finish the arm hole with 3/8″ elastic. I’ll describe this process more in my next post.
That’s it for this week’s post! I hope it helps. I covered a lot of information today, so if you need any clarifications, please feel free to ask in the comments or shoot me an e-mail. Next week, I’ll talk about construction techniques and how to finish projects. Again, if you have any suggestions for topics I’d love to hear them!

I’ve said it before but I love these posts. I feel like I could actually make an attempt to sew after reading all your tips and advice!
Glad you’re finding them helpful! If you do undertake a spandex project and have any questions, let me know! 🙂
Jalie patterns are wonderful. I haven’t made any of their leotards or skater costumes, but I have made every one of their swimsuit patterns, and they are all great.
I just found your blog via Sewcialists.org and I’ve enjoyed perusing your creations. I especially like your Wonder Woman costume. I have been toying with the idea of making one like yours for a while now. Not because I have anywhere to wear it, but it would be great to see it hanging in the closet 🙂
Thanks, Meigan! I love the Bombshell artwork from Ant Lucia. Might not be period accurate, but it’s still super adorable! And thanks for the tip about Jalie. I’ll have to try their patterns soon 🙂
Question(s)! I’m drafting my first spandex project – essentially a one piece bathing suit, with a skirt attached. It seems like for the skirt, I wouldn’t want to draft smaller to account for the stretch … I imagine this might look weird to have the top of a skirt stretch but the rest not? Does this cause issues when sewing because the bodysuit part is drafted to include stretch and so will automatically be way smaller than the skirt piece? I wondered if you ran into any issues with this on your Sailor Jupiter – my costume won’t have gathers in the skirt, but seems structurally similar? Hope all that made sense … Thanks!
Hmm, what material are you using for the skirt? Jupiter was kind of an odd situation. The hip roll wasn’t stretchy at all since it was stuffed with foam, so using a woven skirt worked with that. It was kind of obnoxious attaching the leo to the hip roll though. I did a lot of basting on that costume.
If you’re using a stretch fabric for the skirt, you might want to go a bit smaller, keeping in line with the measurements of the leo, especially if the fabrics have the same degree of stretch. I made a skirt for Supergirl out of spandex that attached directly to the leo, but I also used a pattern since I’m a horrible drafter 😛 Let me double check the pattern when I get home.
Awesome, thanks, let me know if the pattern has any help! My plan is to use the same spandex as the leo for the skirt piece. If you think I should plan for the stretch and make it match the leo, I’ll give it a go!
Yeah, I’d plan for some stretch. The Crystal Lake Green Pepper pattern only has a 20-ish” waist circumference for the circle skirt, and that managed to fit my waist (about 35″). Hope that helps! Can’t wait to see your finished project 🙂
Great, thank you!!
I made a pair of “yoga” shorts using a Jalie pattern. I needed them to wear under a tutu and wanted them to be metallic silver and blue to match my R2D2 costume. The Jalie pattern was very easy to use and follow. They are made simply, without a lot of confusing instructions. That was my first attempt at sewing with spandex, and it went so well that I bought additional Jalie patterns and more spandex.
Regarding the R2D2 costume, I used some of my left-over spandex to make appliques for the parts of R2D2. That was my first time with appliques. I used a tear-away fabric stabilizer to keep the small pieces of spandex from curling. The applique R2D2 components I sewed onto my top looked really cool. Having the stabilizer made all the difference. The other bonus with the stabilizer is that you can draw sewing lines directly on the stabilizer, which makes it easier to do a reverse applique or when creating a superhero logo to sew onto a costume.
Hi! I’m attempting to sew my own sports headbands and bought some spandex from Joanns. Last night, I got to work. I bought the stretch needle, rotary cutter, etc. I got my headband cut out and managed to sew a few seams on either end of the spandex, but that’s when things started to get wonky.
Let me preface by saying I’m relatively new to the sewing world. There’s a ton of stuff I don’t know. Today I decided to google “how to sew spandex” because of the problems I was having. None of the articles I found have addressed this.
What happened is that the stuff is so slippery, I can’t seem to get it to do what I want. I pinned a few spots but it won’t stay tightly and neatly together because it just slips around. I tried hem tape and ironing with my iron’s synthetic setting, but the tape wouldn’t stick to the fabric.
Do you have any tricks for keeping the stuff from sliding around on itself or do I just have to pin like crazy?
Thanks in advance!
It sounds like you might need to use a stabilizer. What I’d recommend doing is pinning your fabric, but slide some kind of tear-away stabilizer between your needle plate and your fabric (so it should go under your fabric). This prevents the feed dogs from trying to pull your fabric into the machine, which is often an issue with knits. I like the Sulky brand stabilizers found at Jo-Ann’s, but if you’re in a budget pinch, you can use freezer paper or even plastic grocery bags. If your fabric is still being wonky, try adding another piece of stabilizer between your presser foot and the top of your fabric, making a stabilizer/fabric sandwich. I hope that helps!
Thank you so much! I bought some and will give it a try!!
I was just wondering if you use a normal foot for sewing spandex or a walking or teflon foot? I made a mock up with a regular foot and it seemed to me that the bottom layer of fabric would get fed through more than the top so they were misaligned at the end.
Depends on the fabric! Most of the time I use a regular foot, and if I have the situation you run into, I use a stabilizer. If I have extra, I use tear away stabilizer, but if not, wax paper or even grocery bags will do the trick!
Fitst, thank you for the informative articles on working with spandex. Your insight has been very helpful. Second, I just want to mention that I have used a Jalie pattern and had great luck with it. I needed a running skort so tried their pattern https://jalie.com/jalie3670-loulouxe-skort with some black spandex I had from another project. The sizing was spot on, and directions were easy to follow.
Good to know! Thanks for the information.
I’ve been reading the portion of your blog religiously since I’m making my first body suit for cosplay. Usually I’ll just buy it online, but I wanted to gain more experience^^ what if I have a turtleneck patter, but want to change it to a scoop? I’m using four way stretch fabric
Switching to scoop neck is pretty easy! You can ignore the turtleneck piece altogether and draft in the scoop where you want it to sit. Finish off the neckline with a band or 3/8″ elastic for added stability! 🙂