Earlier this week, I participated in a Twitter chat with some fellow geeky ladies. Several ladies expressed an interest in learning to sew, so I thought today I’d talk about some things I wish I’d known when I started sewing.

1. It’s okay for your first project to suck.
Obvious, but true. My first couple of projects were awful. Awful, awful, awful. Heck, I look at projects I made earlier this year and wonder if I was drunk making them, because holy crap, they’re bad.
Your project can go wrong for lots of reasons: bad fabric selection, technical issues, trying a technique you might not be ready for, etc. But keep at it! There are tons of resources to help you, and practicing is the only way to get better.
2. Start small and practice one new skill at a time.
I am so guilty of not taking my own advice with this one. New skills can be daunting. It took me ages just to sew in a straight line. That said, try to take small steps and build on skills as you progress. There are tons of tools available to help you learn. Here are a few recommendations:
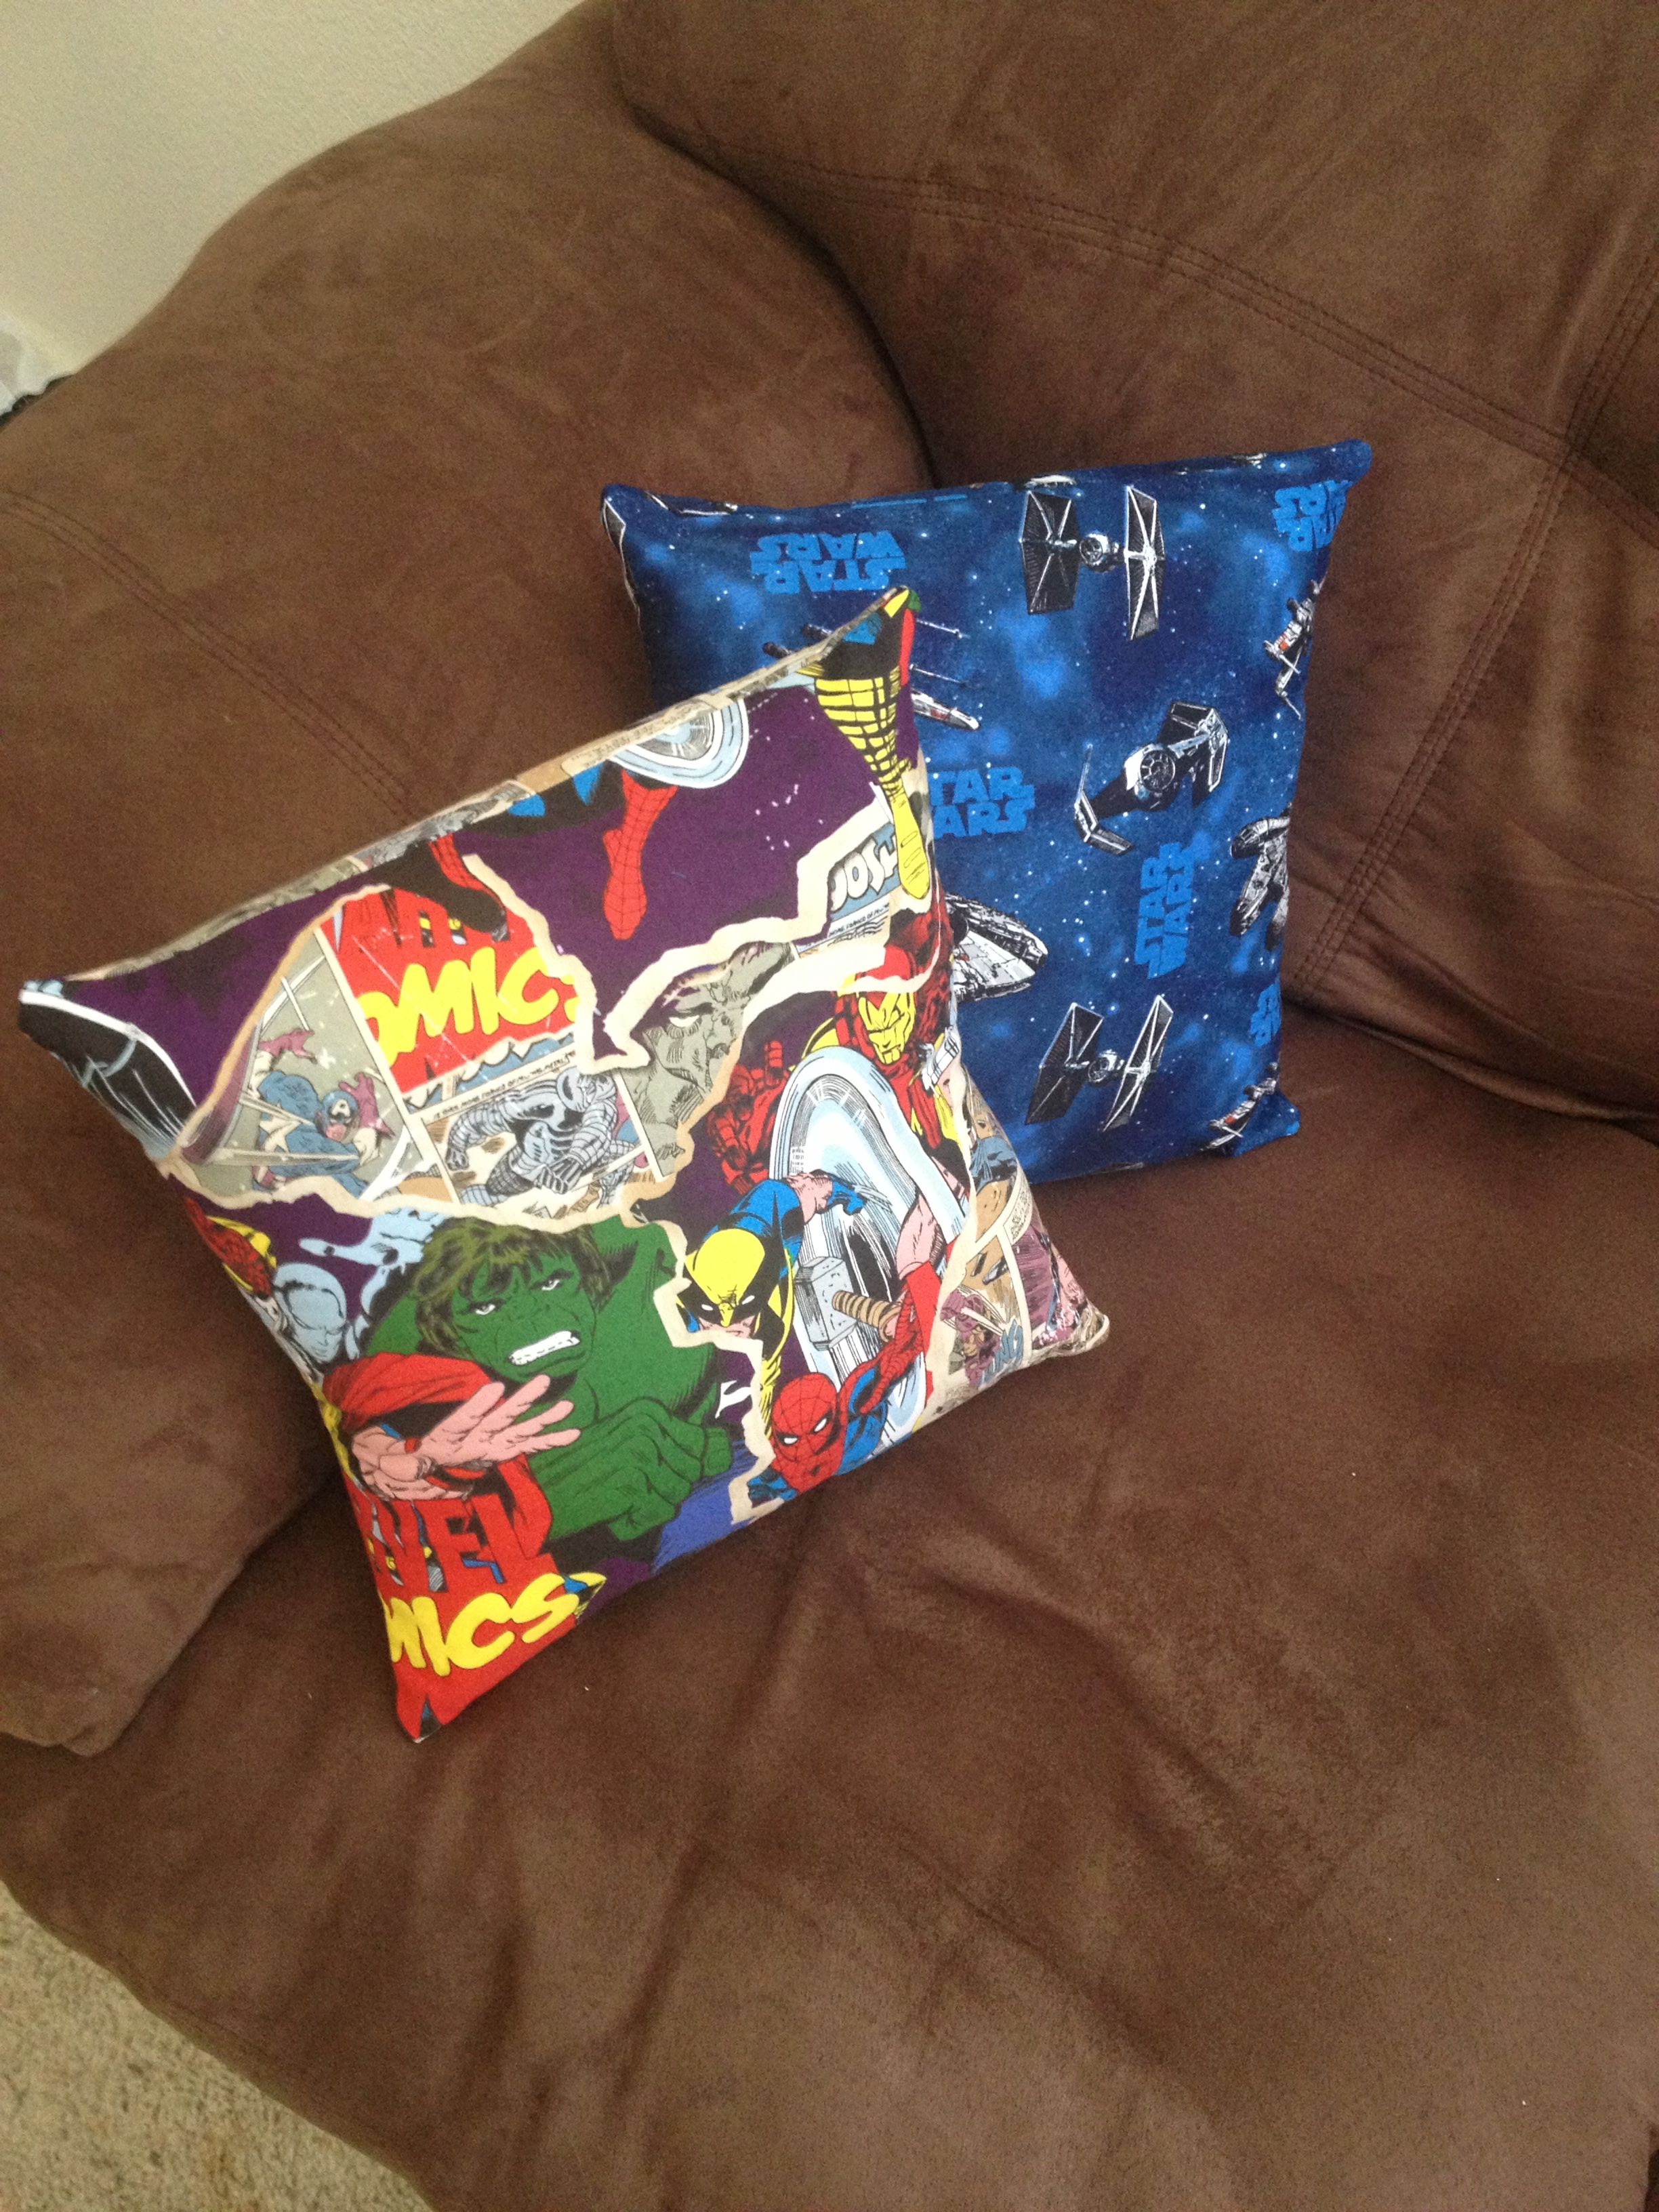
- If you are a total newb seamstress (seamster?), try making pillow cases. Pillow cases are a great way to work on lots of new skills, from cutting and measuring to sewing a straight line and finishing seams. Plus, it’s a fairly low cost/low risk investment that results in lots of awesome decorative pillows. Here are a few of my favorite tutorials: DIY Envelope Pillow, Sweater Pillow, Reading Pillow (great for practicing piping!), and here’s a list of several others.
- Once you’ve got the hang of pillow cases, try other simple projects like free purses and clutches. Clutches especially are a great practice project, because they’re essentially squares and rectangles, but now you get to practice sewing in zippers and buttons! Here are a few of my favorite free tutorials and patterns: DIY bow clutch, Phoebe bag, Fold-over Clutch, and the Scrappy Clutch Bag.
- Craftsy is a fantastic resource for all you visual learners. They have several classes that walk you through various sewing topics, from fitting to pattern drafting. Sticker shock for classes can be daunting, but they have lots of 50%+ sales! They’ve also got some free classes if you want to get your feet wet.
- If you’re interested in garment sewing, the Colette Sewing Handbook is a great resource. Sarai presents information in chunks through each chapter and then gives you a project to practice those skills. It’s a really handy way to practice and learn! Plus, the book comes with 5 patterns, which is a great perk.

3. Patterns are just a guideline.
Pattern companies, especially the Big 4 (Simplicity, McCall’s, Vogue, and Butterick), make patterns to accommodate the largest number of people possible. Many patterns assume an average height of 5’5″ with a B cup. That means that if you make a Simplicity pattern straight out of the package and you’re 5’11” with a D cup (me), that pattern will not fit you. At least, not the way that you want. This is where fitting comes into play. Which leads me to…
4. There’s no “one size fits all” adjustment.
Bodies come in all shapes and sizes. Even if someone has your exact same measurements, a piece of clothing might look different on both of you, since our bodies all squish and move in different ways. That’s the beauty of sewing your own garments. You get to make things that work for you! Of course, this can also be frustrating and time consuming when you first get started. It’s something that comes with time and lots of practice. I’m still getting the hang of FBAs!
Here’s a quick list of possible (and quite common) adjustments:
- For those of you smaller than the assumed B cup, you’ll want to look into small bust adjustments (SBAs). If you’re bigger than a B cup, take a look at how to do full bust adjustments (FBAs). Tutorial for both here.
- Swayback adjustments are helpful if you find fabric pooling at the base of your back.
- Wide/narrow shoulder adjustments are helpful if you have particularly wide (me!) or narrow shoulders.
There are tons of other adjustments you can make to get the perfect fit. Don’t be frustrated if your adjustments don’t work out perfectly the first time you do them. It’ll come with lots and lots of practice 🙂
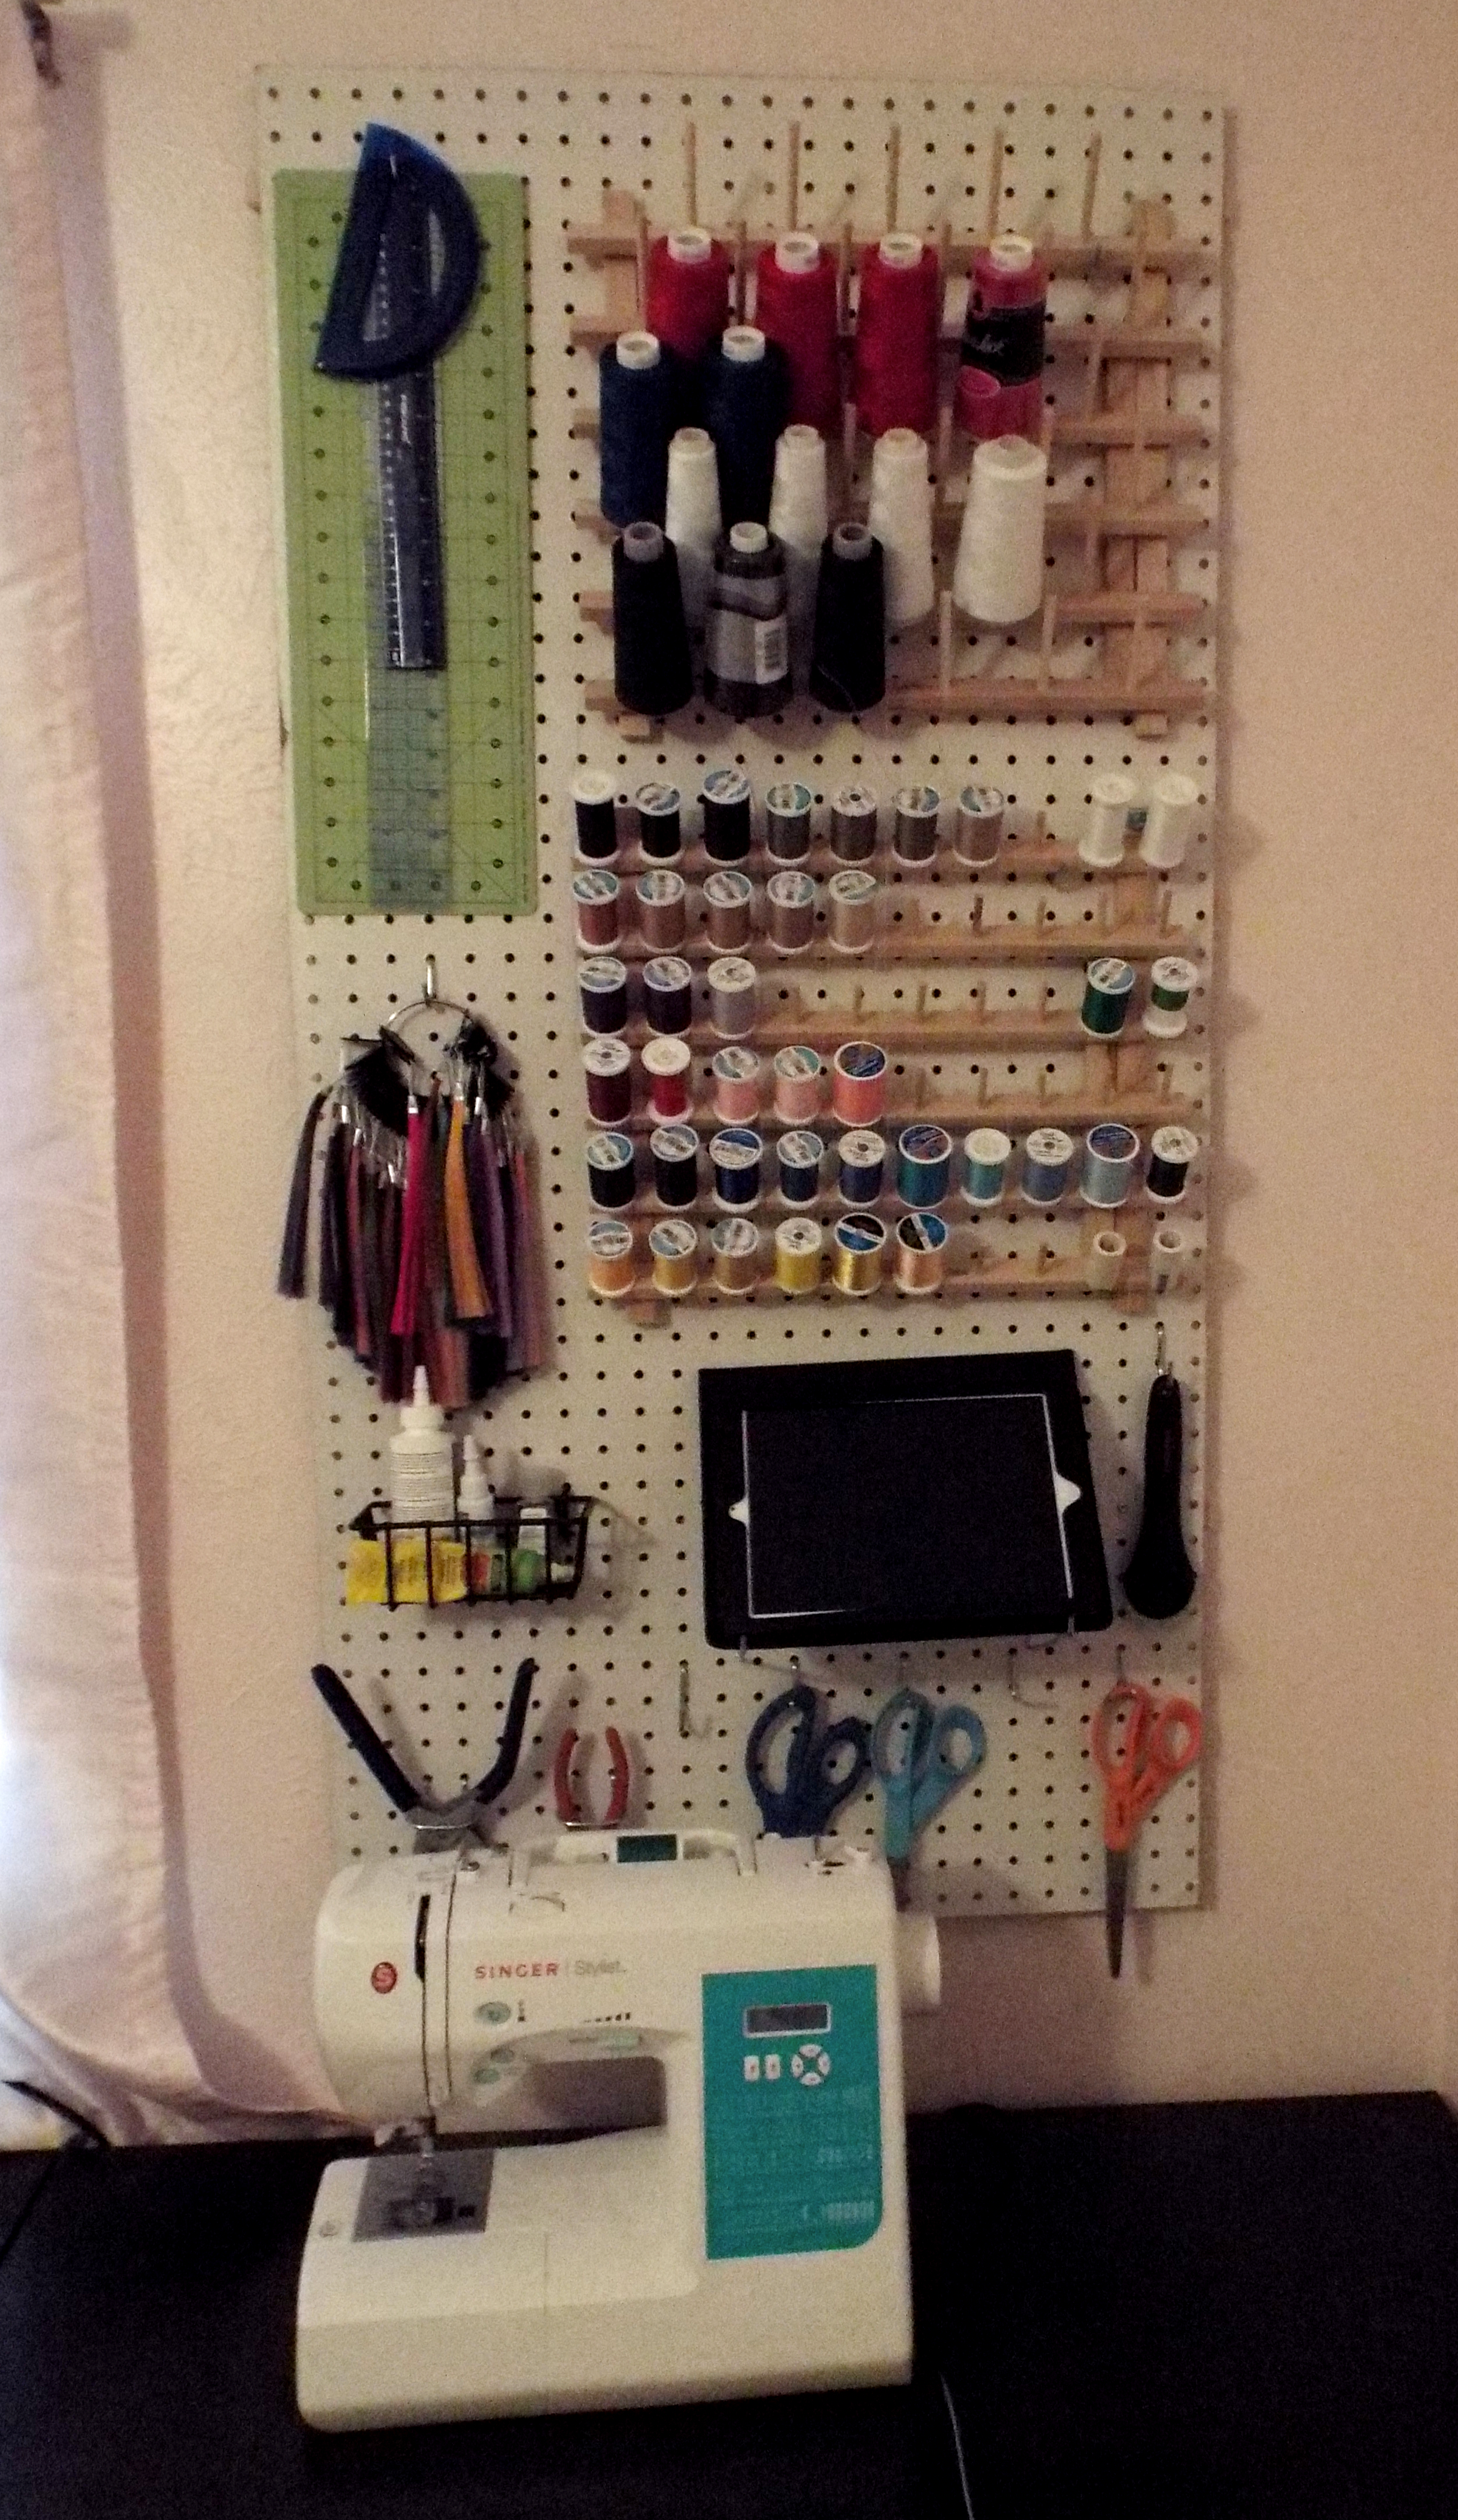
5.Quality tools make life much easier.
Sewing can be a pretty costly hobby, especially upfront. You have to buy a machine, all this fabric, thread, etc. While it’s tempting to cut costs anywhere possible, here are a few places that you shouldn’t:
- Scissors: You don’t have to buy $80 cutting shears when you first get started, but definitely invest in a pair of scissors that are fabric only. Your projects will look nicer and your wrists will thank you.
- Machine: Again, you don’t need a $1,000 machine to get started. My very first sewing machine was a Singer Simple that I got from Wal-Mart for $90. It lasted me a year and I fought it the entire time. There’s nothing wrong with going low cost and seeing whether or not you want to stick with sewing, but definitely look for something that has a small bit of heft. I really like my Singer Stylist and it’s going on 2 years.
- Iron: This is one of your most vital sewing tools. Pressing a seam takes a project from looking “home ec” to something you might buy off the rack. Look for an iron that has multiple heat settings and includes a steam function.
For other sewing 101 must haves, check out this list!
6. Your user manual is your friend.
I know, ew. I barely use my user manual for my phone. Why should I use it for my sewing machine? For starters, most manuals will tell you exactly what needles and thread to use on a variety of projects. Many will also include instructions on how to do various techniques, like how to thread a machine to accommodate a twin needle.
It’s also a great troubleshooting resource. While you can go out to YouTube or Google and *maybe* find something that looks similar to your machine, your manual is your best resource. For example, when I first got my serger, I had no clue how to thread it. I found lots of videos that were kind of helpful, but my machine is a hand-me-down from the 80s. I finally found a digital copy of the manual for my serger (thank you, librarian skills), and my problem was solved!

7. Make things that you’ll actually wear.
This is another bit of advice that I don’t always follow. There are lots of gorgeous patterns out there. Big fluffy dresses, elegant gowns, etc. These can be great if you want something for a special occasion like a wedding or a costume for a con, but if you’re looking for good ol’ daily wear, look at your closet before purchasing a pattern. Are you a t-shirt and jeans guy or gal? Do you wear knit (see: stretchy) dresses more often than not? It’s easy to be swayed by pretty patterns, but when you’re making your own clothes, it’s important to temper the pretty temptation with a healthy dose of realism. After all, do you really want to drop 10 hours on a project that will only hang in your closet?
8. DO NOT buy Big 4 patterns at full price.
Nope, nope, nope. Full price for a pattern is often in the $20 range, and there’s no need to do this. Stores like Jo-Ann’s and Hancock Fabrics have frequent $.99 and $1.99 sales on Big 4 patterns (a bit higher for Vogue and Kwik-Sew, but still around $5). Get on their mailing lists to see when sales are happening. This is a big money saver for all you cosplayers out there!
Indie patterns aren’t often on sale, but there are still ways that you can avoid paying full price if you’re on a budget:
- Sign up for company mailing lists to get advance notice when sales are happening.
- Look for PDF patterns. They’re often cheaper than print patterns and have the added benefit of printing at home.
- Keep an eye out for the Perfect Pattern Parcel. Indie pattern makers will submit their patterns and you get to set your own price! It’s a great program and proceeds go to benefit children’s education programs.
- Follow blogs! Lots of sewing blogs will post coupon codes for sales as they go up.
9. Stretch fabrics aren’t as scary as they seem!
Really, I promise. I’m planning to write more on this topic soon. Stretch fabrics are fantastic, because they don’t have lots of fiddly fit issues. The stretchy nature of the fabric takes care of that for you! To get going with stretch fabrics, you’ll need a stretch needle, a machine with a stretch stitch, and practice. Here’s a great overview from Prudent Baby.
10. Enjoy it!
Take your time, and relish in your work! There are few things as rewarding as rocking a garment or showing off something that you made.
Hope that helps some newbie sewists out there! What do you wish you’d known when you first started sewing?

I have always found sewing quite intimidating! I bought little $100 Singer when my daughter was born, and made her a few sundresses when she was about a year old. I also made myself a cute baking apron, and I’m in the midst of using it to whip up a t-shirt quilt (of which I have no idea what I’m doing haha!). I definitely don’t use my machine as much as I had intended when I bought it, but luckily it’s never given me any trouble!
That’s good to hear! I think my issue was that I was using it a ton and the poor thing wasn’t built to handle my workload 😛
This post is beyond helpful! Thanks for sharing your tips and tricks!
Glad you found it helpful! 🙂
That Captain Marvel dress is amazing! Thanks for sharing these! I would love to start sewing, but the whole process is a bit intimidating. This make it seem a bit less scary! 🙂
Thanks, Kendall! It’s definitely scary getting started, but stick with it! Getting your feet wet is the best way to get better 🙂
I’ve been wanting to sew for a while now and I am so bookmarking this post! Thank you so much for sharing! Do people actually pay $20 for a pattern? Yikes!
Also, oh my god, that galaxy scarf. I must have it.
Glad you found it useful, Sarah! Haha, yeah, I’ve known a few people who paid $20 for patterns. I only pay that if I’m desperate (e.g., it’s the week before the con and I don’t want to draft something myself), but even then, I normally have a 40-50% off coupon!
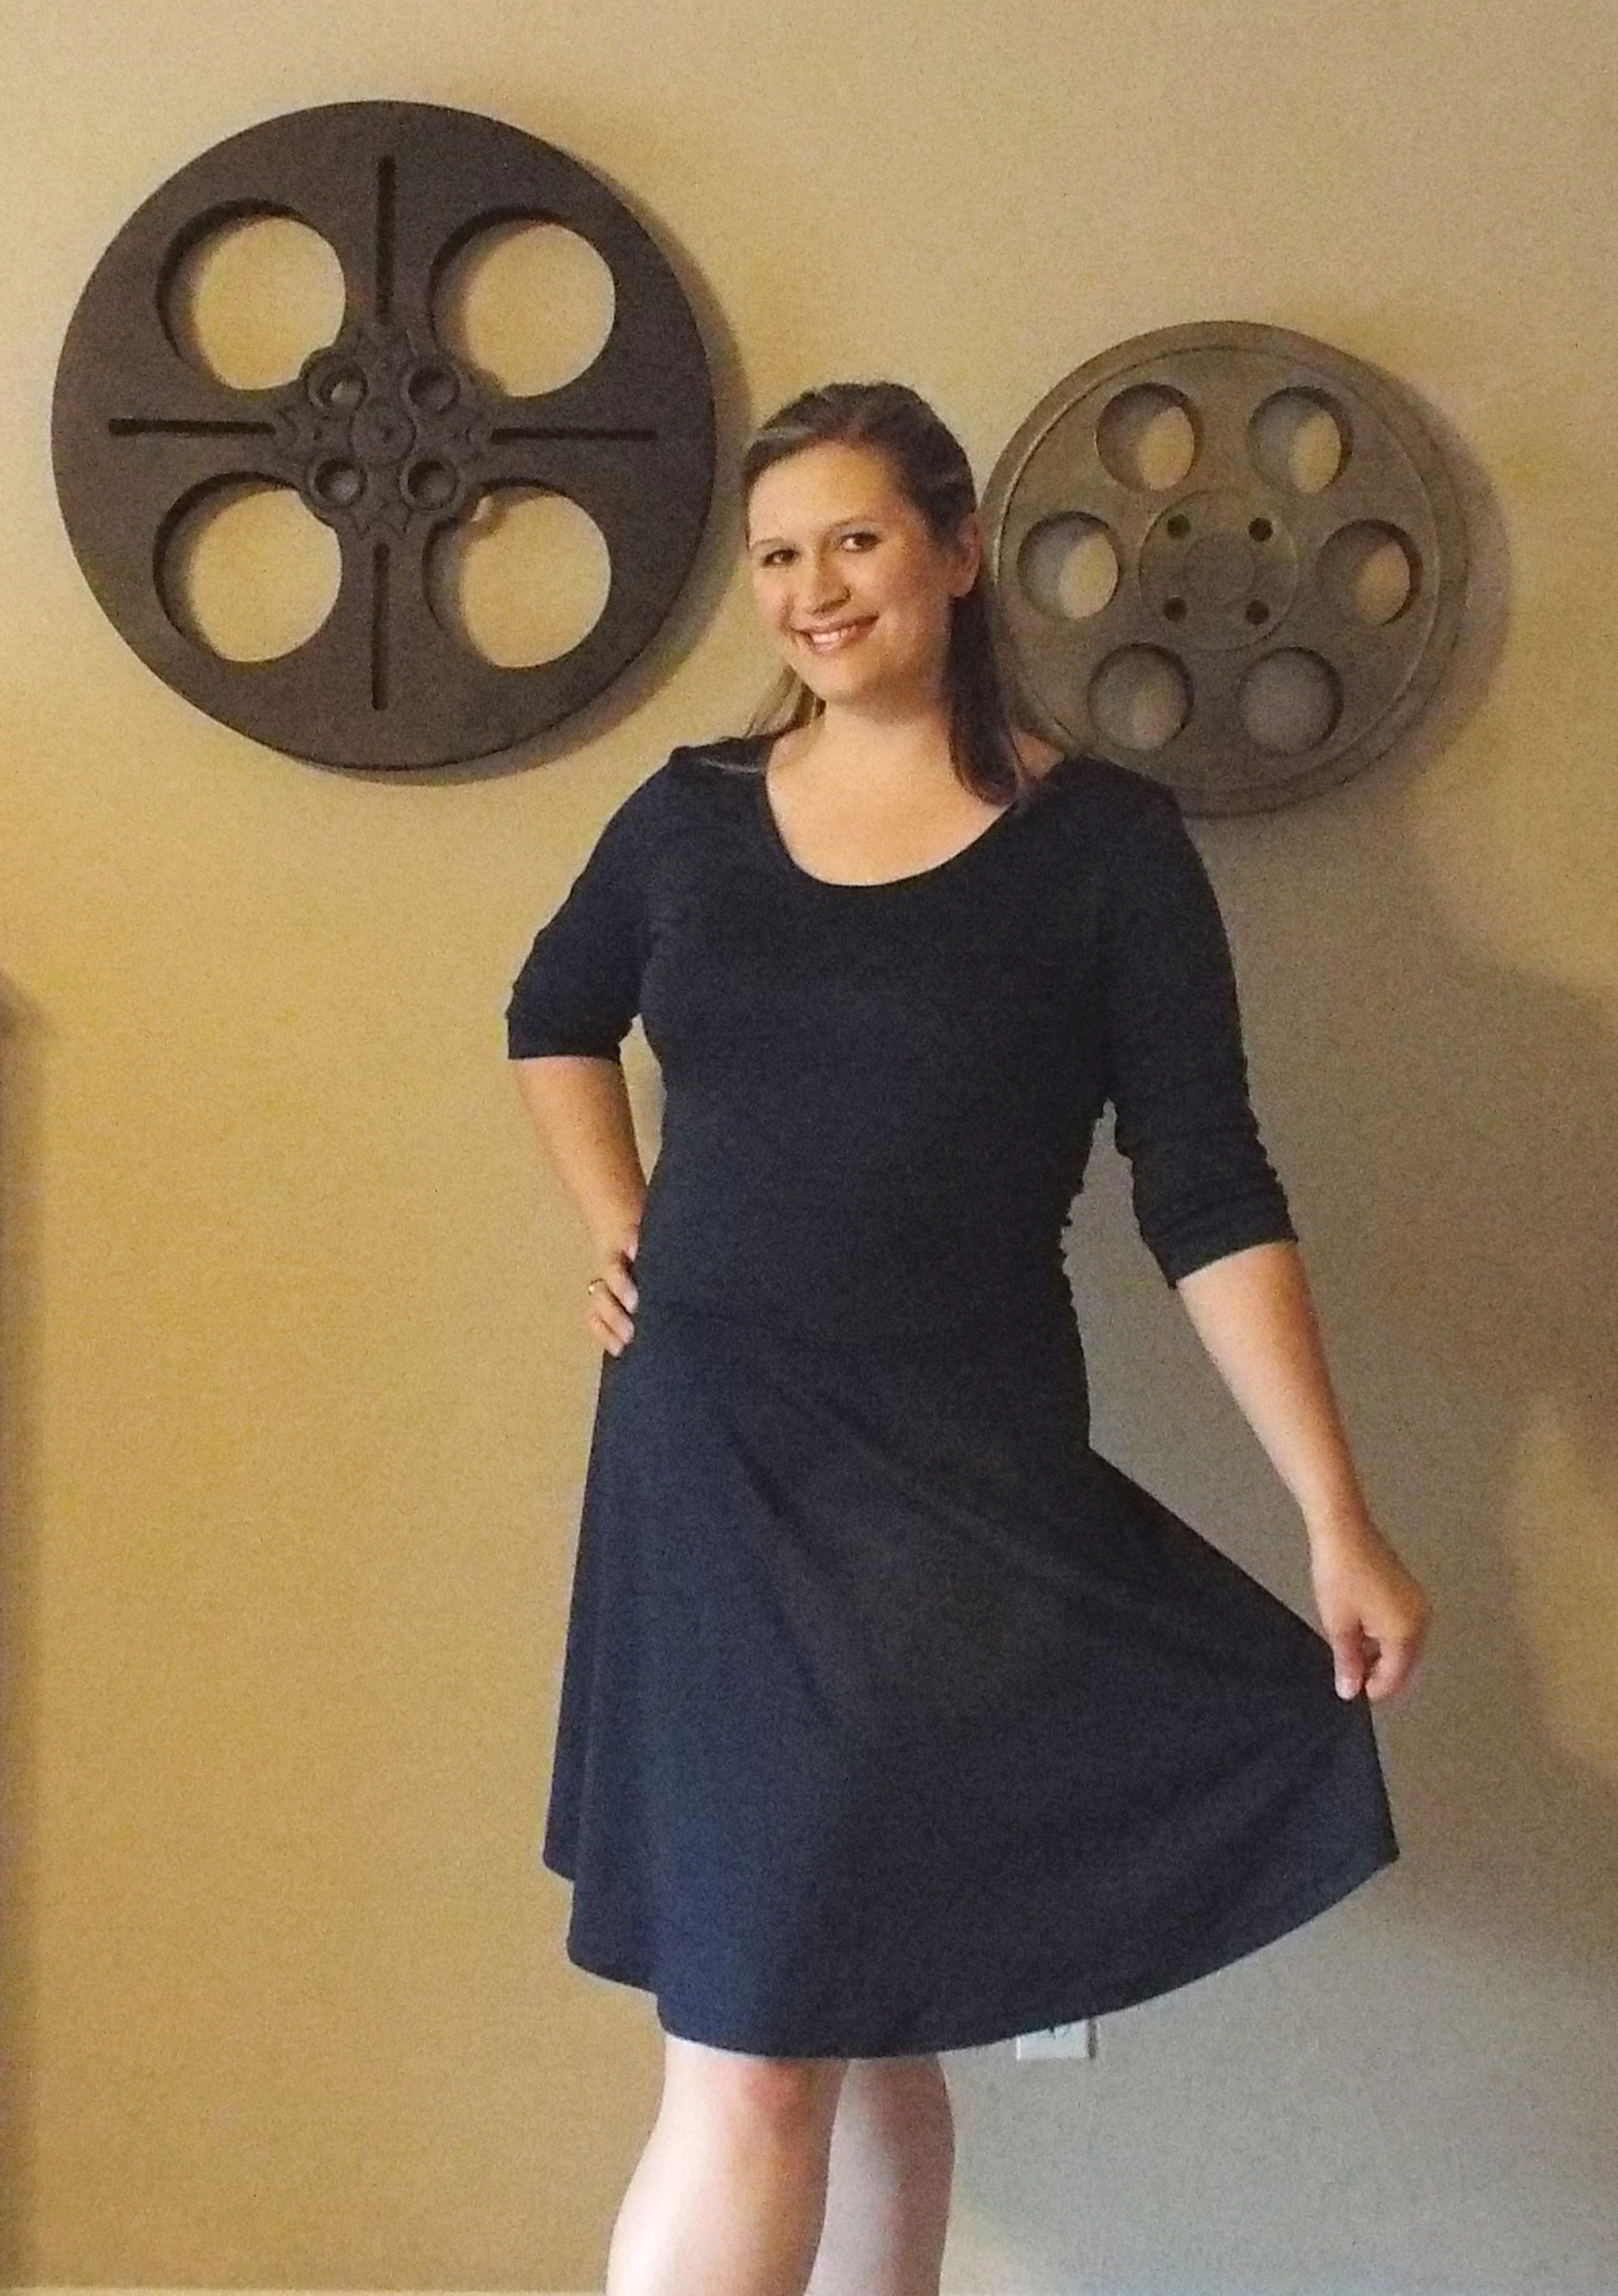
Thank you for sharing these! I am a totally newbie when it comes to sewing (I have made one dress for my daughter), but one of my goals for this next year is to make a steampunk-something for a con. And that skater dress so looks like something I wear — I am going to have to check out your post on it!
Thanks, Stephanie! Glad you found it useful. Simplicity has a lot of great steampunk patterns, so I’d keep an eye out next time they’re on sale and stock up!
And the Lady Skater is a fabulous dress. It’s a great project if you’re just getting started with knit fabrics 🙂
These are great tips! I definitely could have used them when I started trying to sew Flamenco dresses. And I totally agree, the first projects suck and it’s okay. Practice makes perfect.
Thank you! Yeah, it’s all a learning process. Just got to stick with it!
We are sewing machine twins! I luv my Singer. Great post — there are so many resources out there that it can be overwhelming went starting.
Yay sewing machine twins! I love my Singer too 🙂
Great tips! I’ve sewn dresses and some other things here and there but I don’t feel confident in my work at all. This was a great refresher for how to improve my skills – and the little tips that make a big difference! (I never iron, I’m the worst, haha.)
Thanks! Yeah, pressing is something that drives me crazy, but it makes such a huge difference. I normally try to sew every seam I can before joining (e.g., all the skirt seams before attaching it to the bodice) so that I don’t have to keep plugging in my iron.
This is brilliant!
I haven’t sewn since…a long, long time ago.
Thanks for the pointers!
You’re welcome! 🙂