New year, new makes! I actually finished this make at the very, very end of 2015. I think I finished it 2 days before Christmas, and that was with the intent of wearing it to (what I thought would be) a cold Christmas with the beau’s family.

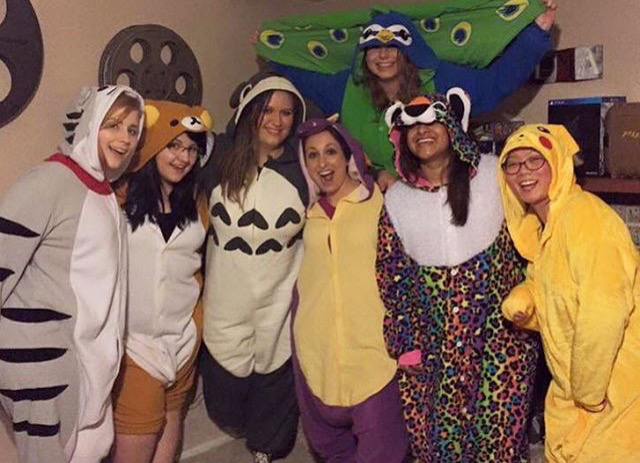
So why an adult size onesie? Well, I never had any intention of owning one, but several of my cosplay friends have been snagging them lately, and they just looked so darn warm and cozy. I thought it’d be nice to have one in my costume rotation for late-night convention shennanigans!

I debated what kind of kigu I wanted to make for quite a while and ultimately decided on Totoro. He’s one of my favorite Miyazaki characters, and what says kigurumi better than a giant teddy-bear like creature?
The Basics:
Pattern: McCall’s M6251
Fabric: Anti-pill fleece and felt scraps
Alterations:
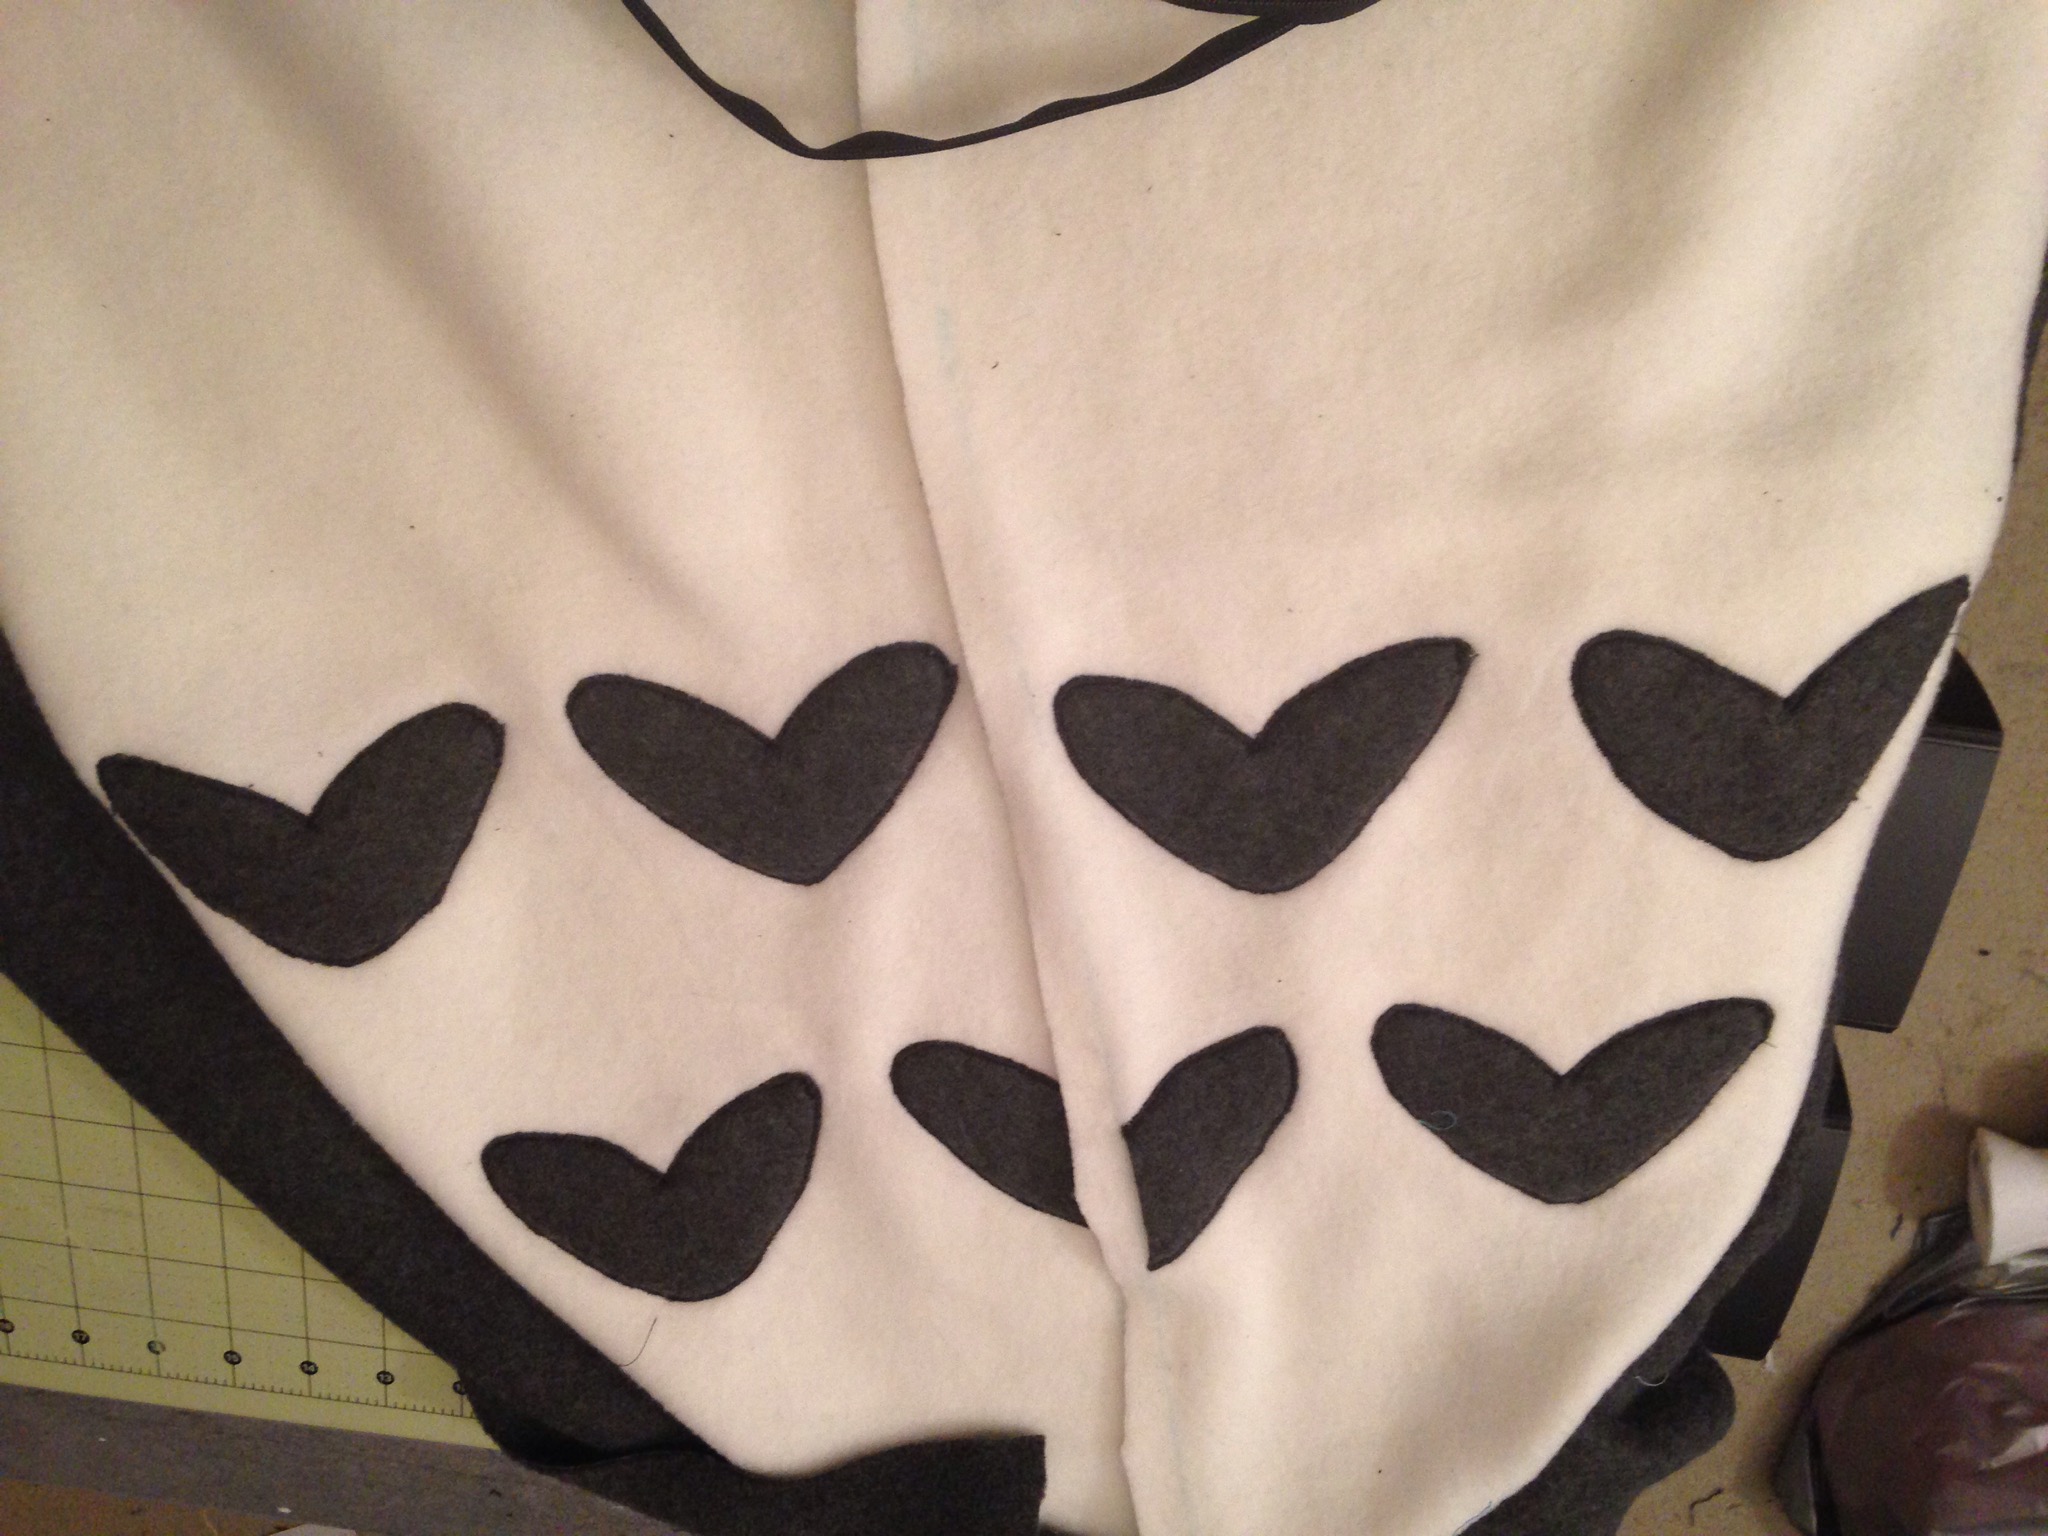
- Aesthetic changes (stomach and applique work)
- Added about 4 inches of length in the pants
- Ditched the cuffs for elastic bands
- Added a hood (snagged from the Avacado Hoodie pattern)
- Added pockets
- Invisible front zipper
- Added “paws”
- Added a tail
Notions: Zippers, double-sided fusible web, elastic
Make it again?: For sure! In the future, I’ll add just a bit more length for myself and add extra length for the arms.
Favorite parts: As I was planning this, I paid close attention to the things my friends loved (and hated) about their kigus so I could make a killer one. My first major addition to my kigu was giant pockets. I snagged an inseam pocket pattern piece from an old pattern and blew it up to twice its size. Of course, I didn’t want my pockets to gape open, so I attached my pockets with invisible zippers so I could close them. Lots of storage and no need for a purse! The zipper tape also acts as a nice stabilizer.
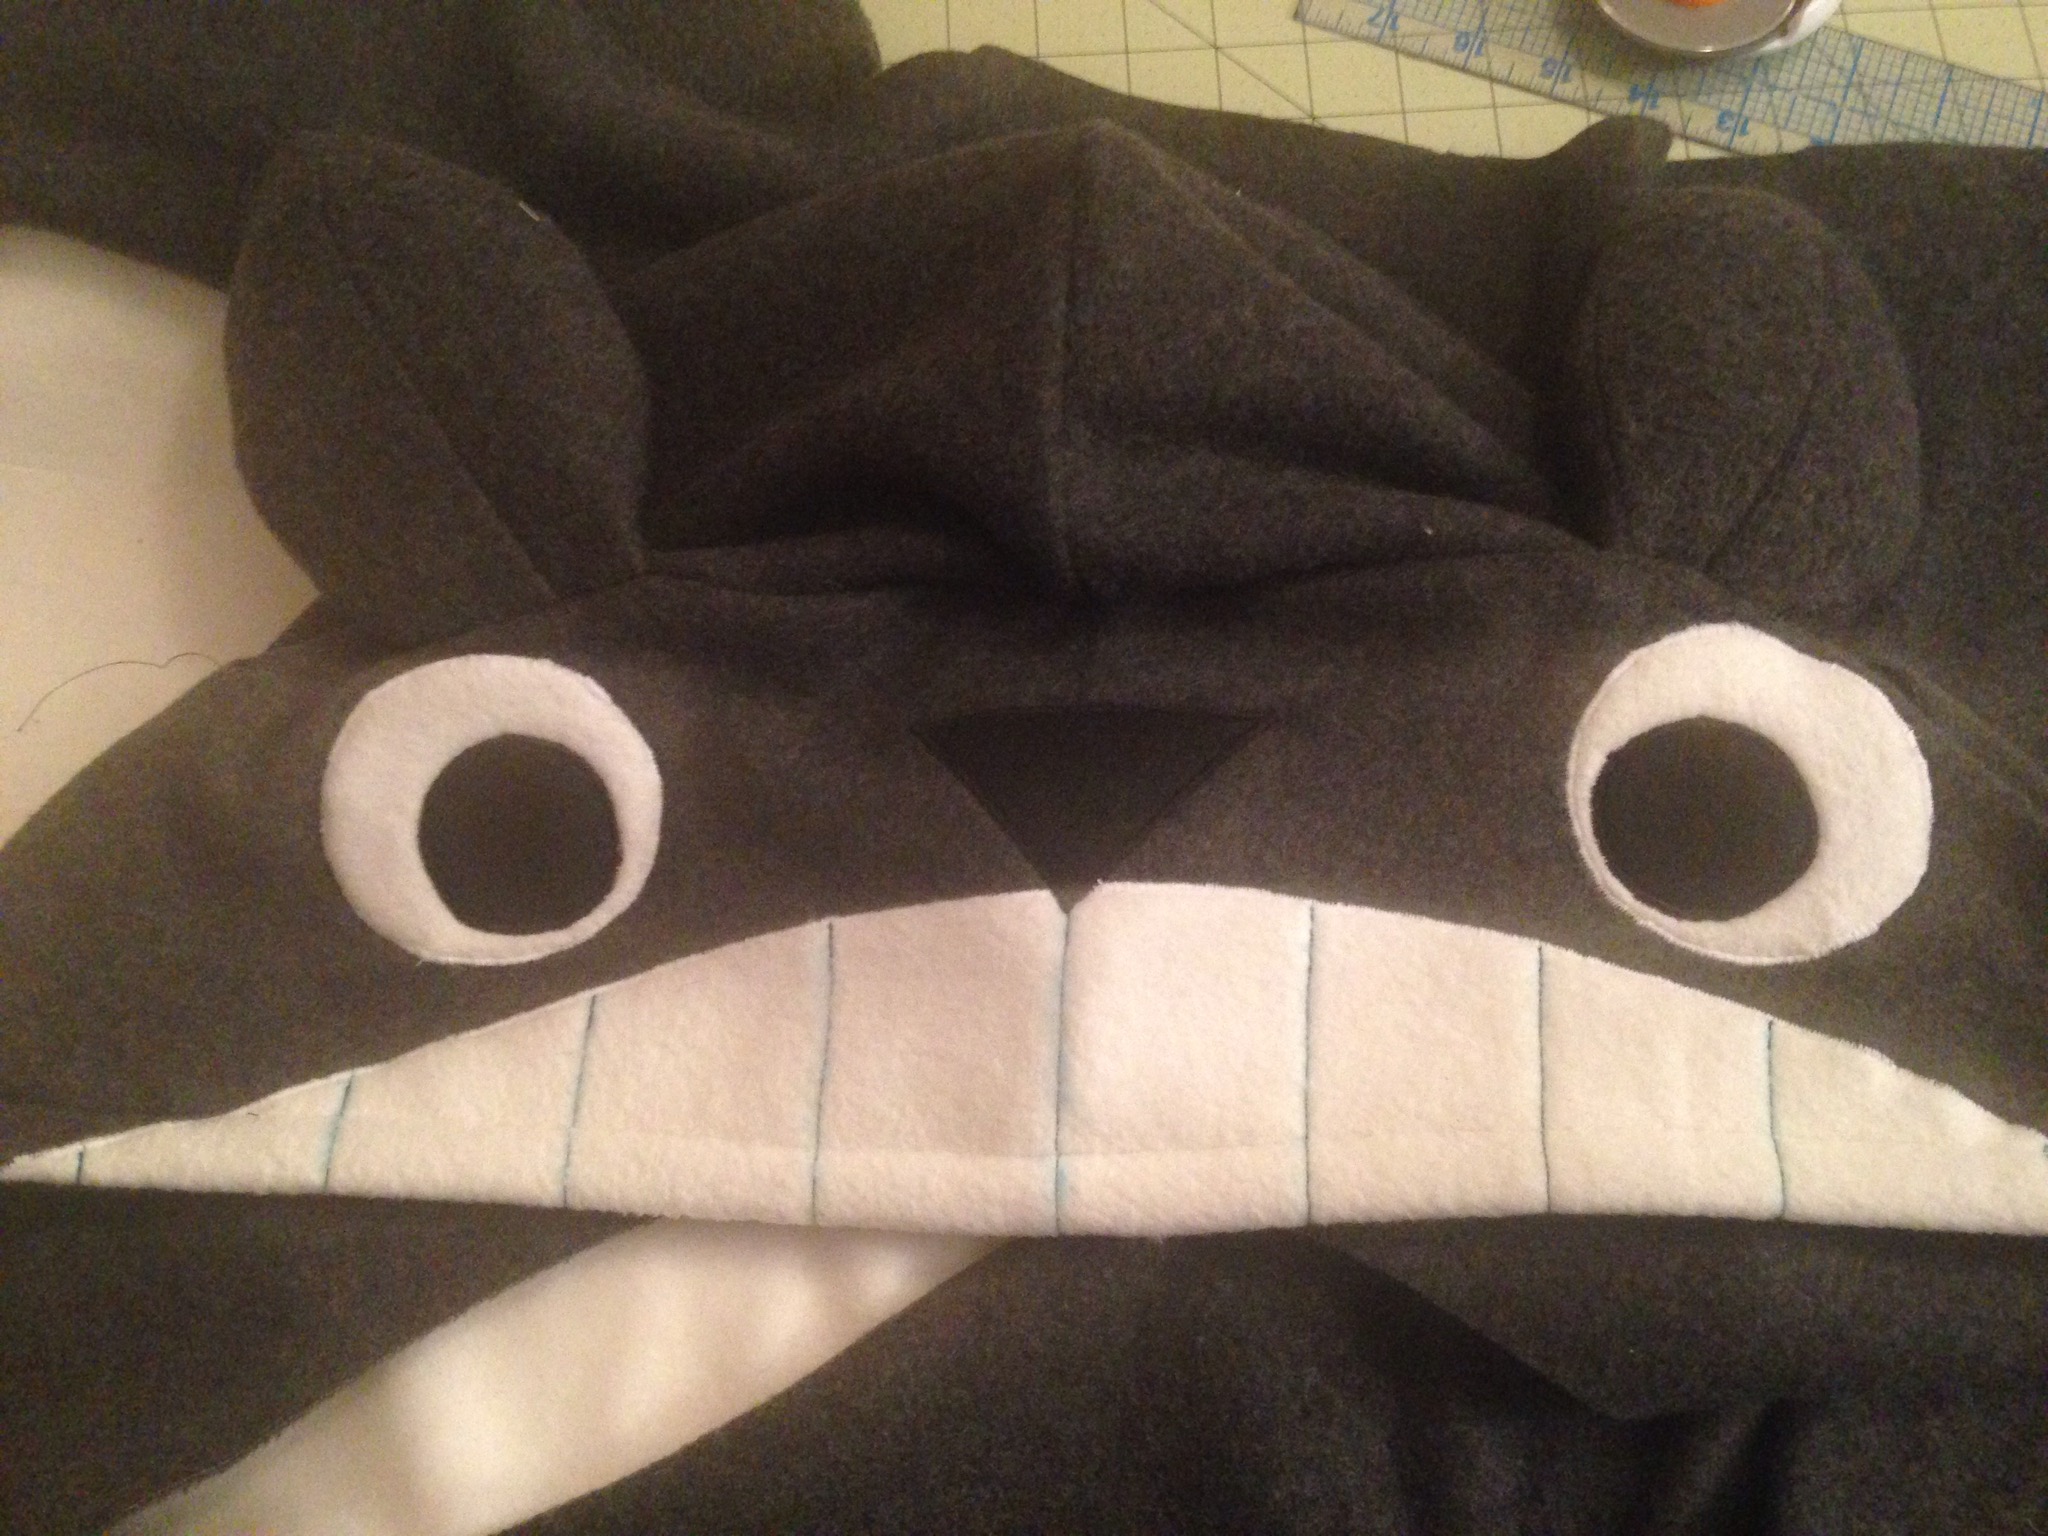
For my hood, I slashed and spread the Avacado pattern piece so that I could have a super drapey hood. This part was super cozy. I spent a lot of post-turkey time curled up on the couch with basically my entire face covered by Totoro’s. I took the same pattern piece and cut out a second set to act as a lining. I drafted the ears and facial appliques by more or less eyeballing them and sketching them out on paper.
I originally planned to do buttons on the front of the kigu, but I mucked up when I started attaching appliques and didn’t leave enough room for the facing and button holes. Rather than seam rip all my appliques, I decided to just add an invisible zipper. Turns out, I like the look a bit better than kigus with buttons. There’s no need to worry about gaping!
Pro-tip on working with appliques: either use basting spray or double sided fusible web to add your designs. It’ll save SOOOOOOO much sanity.
Other Thoughts: This was such a cozy and relaxing project. I think it took me somewhere around 10 hours, but that was mostly because I satin-stitched EVERYTHING. I think I’ll just edgestich in the future to save time. After the insanity of Lulu, it was nice to work on a project that didn’t require much in the way of tailoring (or contact cement fumes).
The one thing I regret about this projects was the arm length. The sleeves are just barely long enough for me, and since I ditched the cuffs, they’re a tiny bit too short. I plan to go back and added an extra band to the bottom of the sleeves, which works out well since I need to stitch on the “paws” anyway.
Do you have a kigurumi? If not, would you wear one?

Adorable!