I recently knocked out the first major portion of my Mami cosplay: the CRAZY ASS WIG!
This wig was such a steep learning curve. Part of the reason I specifically chose Mami for our Coterie build (aside from her adorable design and the fact she’s my favorite Madoka character) was because I wanted to flex my arguably tiny wig muscles and learn more about crazy styling techniques. Well… I definitely learned a lot!

My main resource with this tutorial was SparklePipsi’s drill curl tutorial. There are a lot of tutorials on the packing tape method of drill curls, but hers is my favorite. Overall it’s a great comprehensive guide and has a lot of useful tips and techniques (pro-tip: make sure you get CLEAR caulk. I had to get mine off of Amazon because my local hardware stores didn’t have any). Plus, all her tutorials are beautifully designed and in PDF format for easy downloading and printing.

So my first major tip if you opt to take the packing tape/jewelry wire route: you will need WAY less wig fiber than you think you do. I hacked my stubs in half, and they were still way too thick. So thick that they literally separated from the tape when I tried to curl it.
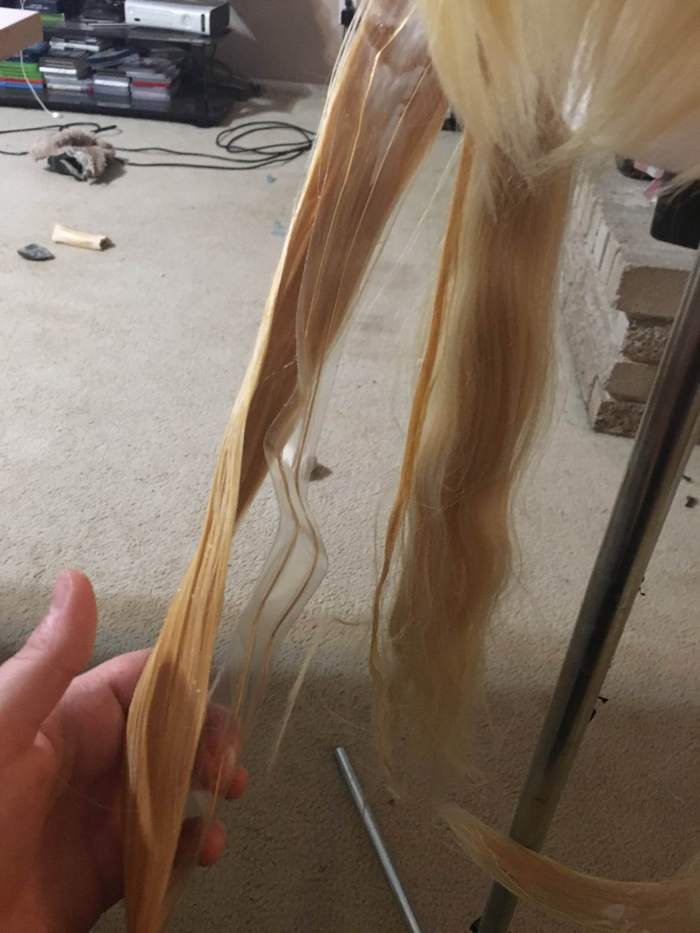
This lead me to my first big deviation from this approach. Every time I tried to start curling the packing tape, huge chunks of the wig fibers would start popping up. After consulting with my wig guru Vicki Bane, I went back and laid the wefts down while the packing tape/wire was in a curled shape. Placing the wefts on the interior while the tape is in a curled formation is difficult, clunky, and time consuming, but it’s really the only way to get the fibers to lay flat.
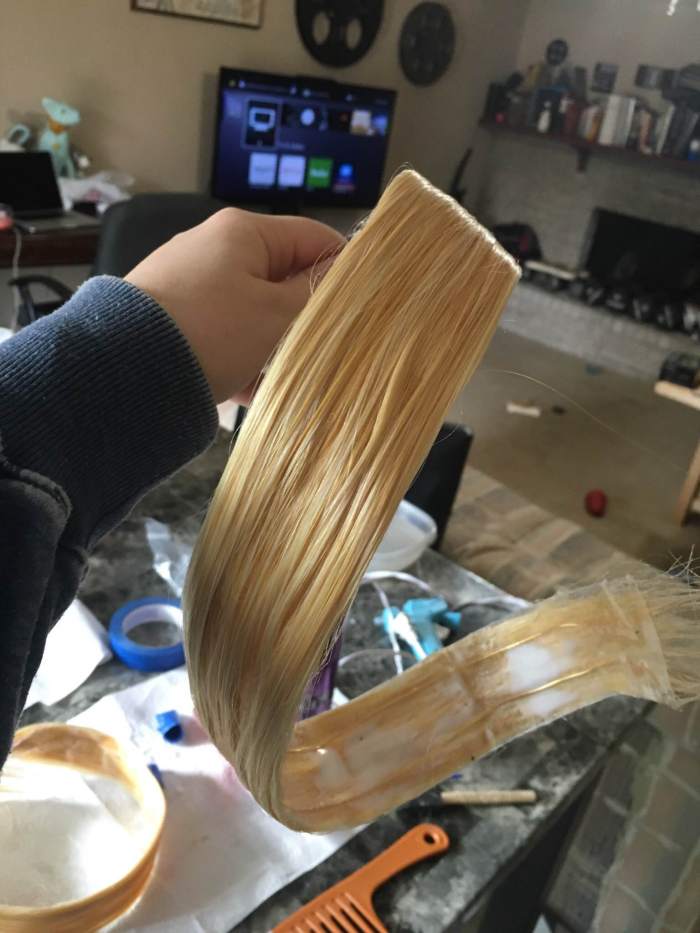
That brings up the next technique: actually laying the wefts on. After I gave up on my first wig (RIP), I got a Chibi and two ponytail clips instead of another Leia (pro-tip: if you get the Leia as Suzanne notes in her tutorial, make sure to straighten it first). I tore apart the netting on the ponytail clips and laid two layers of wefts on at a time until I got the thickness I wanted. Basically, it was caulk, 2 layers of wefts, thinner layer of caulk, 2 more layers of wefts, hair spray.

I had the best results when I brushed out the wefts just prior to laying them on the tape and then gently adjusting them with my fingers (definitely keep water and paper towels nearby). I’m not sure if I was doing it wrong, but using a comb to smooth my wefts resulted in a chaotic caulk-ridden mess.

Suzanne’s tips about the clear filament (aka fishing wire) were super helpful! I threaded mine through each curl around the wires and then stitched it to the base of the wig. The curls were far too heavy to get Mami’s gravity defying bounce, but the the filament helped me place each curl exactly where I needed it to go.

So what’s my take-away from this experience? Wigs are expensive and terrifying and I don’t know how people deal with them LOL.
Not really. This experience reminded me to constantly research, talk to people who know more than you, and to not to let fear of failure keep you from trying. I really thought that I’d have to scrap this project a couple of times and commission someone. I still see a lot of mistakes when I look at this wig, but I feel a lot more confident trying something outside of my wheelhouse now.
Have you ever chosen a project specifically to enhance your skill set? How did your experience go?

Reblogged this on and commented:
Welcome, readers! In an effort to share information about our Madoka build over the next few months as we continue working, we’re posting information and reviews on our process during construction. Today we’re starting with The Geeky Seamstress’s notes on Mami’s wig!