Photographer Credits:
Completed: October 2017
Hours Spent: Approximately 50
Why This Costume: Koholint Cosplay and I have this habit of dragging each other into various fandom hells. She nailed my cosplay type so hard with this one, and then surprised me by buying me season one. I started watching, got hooked, and now I’ll be making Code Geass stuff until the day I die.
Purchased/Closet Pieces:
- Arda Wigs Matilda in White
- Etia Coeur contacts
- Wrist gloves by We Love Colors
Patterns Used:
Super Helpful Tutorials:
How I Made it:
This build was kind of a stupid challenge. I started working on it in July 2017 with the intention of finishing for A-Fest. Long story short, I was insanely burned out at the end of the summer and ran into issues trying some new techniques, so I tabled it until after I wrapped up my commissions for this year.
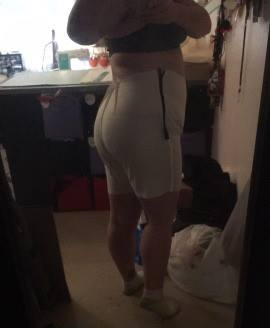
My first step in making this costume was the pants. Really I just wanted to play with the fabric. It’s a GORGEOUS Tommy Hilfiger wool garbadine from Mood fabrics. As soon as I spotted it back in March, I knew I had to buy it for this build. I had Butterick 5895 in my stash for ages and was so excited to try it out. I lengthened the pants a bit (see: A LOT) and also eliminated the pockets since I didn’t want to interrupt the silhouette with extra seams and bulk. I also moved the zipper from the back to the side. I thought this was a brilliant idea until I went to shoot this and it gave me dumb issues, including some seams popping when I went to sit down on a bench. For my next shoot, I’ll move the zipper to the back seam to eliminate pressure on the hip.
Even with that issue, I ADORE the fit of these in the bum. IT’S SO GOOD. I do still need to make some tweaks overall on the leg fit at some point (PSSSTTTT… Mood, bring this fabric back so I can make more pants!).
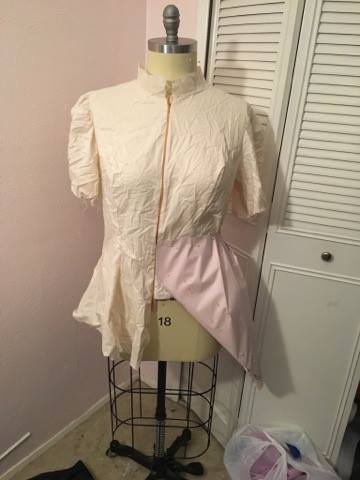
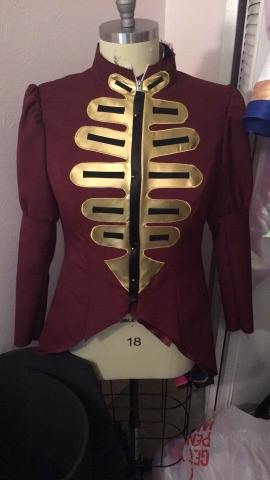
After knocking out the pants, I started patterning the jacket. I started by using the base of McCall’s 7373 since I knew it fit me well from Mami. From there, I hacked off my muslin to the waist and started draping the tailcoats with paper to get an idea of how to pattern. Once I was satisfied with my initial go, I made another mock-up to test the fit. Once I tweaked a few issues, it was time to move on to the real thing!
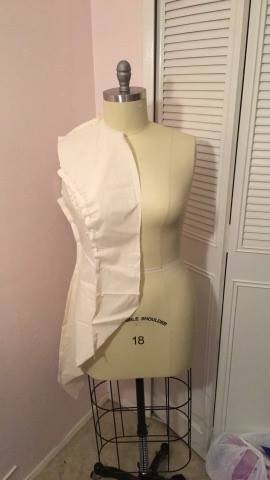
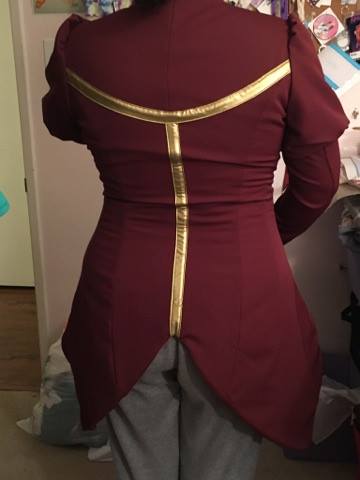
To give the coat the gravity-defying tails, I treated the coat as a heavily constructed bodice with a lining, interlining, and fashion layer. The interlining is various pieces of hodgepodged cotton twill (generously donated by Koholint Cosplay) that I interfaced. Each seam has boning (lots of various types since I was mostly stashbusting) and 3″ horsehair is sewn into the hem to help hold it in place. After seeing the pictures from the shoot, I think I need to add rigeline to a few spaces between the seams to help hold it in place better.

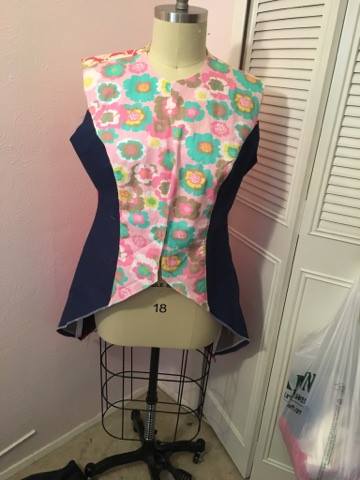
Once the interlining was complete, I basted it to the lining (made from old Pluto satin) and treated it as one piece. The lining uses the sleeve from view A of McCall’s 7373. As with Mami, I stitched the puffy exterior sleeve (which is flatlined with tulle) to the shorter sleeve to create more volume in the upper sleeves.

The gold applique on the fashion layer gave me such a headache. I tried a few different techniques to get more of a 3D effect, but most of them failed miserably, so I went to a tried and true applique technique: Heat and Bond and satin stitching. It’s not perfect, but it’s by far the cleanest approach I tried. The gold detailing on the front and back is gold vinyl from Yaya Han’s fabric collection at Jo-Ann’s. Once the applique was on the front, I topstitched pre-made bias tape onto the gold and then hand sewed all the buttons onto the jacket.

The cuffs were self-drafted and self-lined. The back piece on both sides has lightweight interfacing, and is stitched to the sleeve with the gold button. I went back and forth on whether to make the gloves as toppers or if I wanted to attach them to the jacket, and ultimately went with the jacket for fewer pieces.
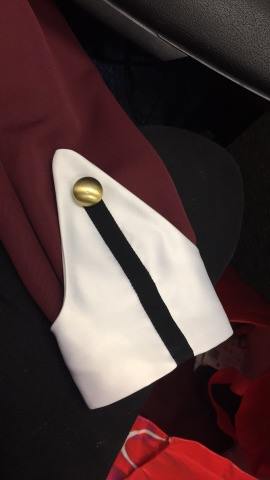
The cravat is more of a “fake” piece. I tried making a more traditional cravat, but it lead to far too much bulk at the neck. Instead, I cut a piece of satin on the bias, gave it a narrow hem, then gathered the cravat at the top. As of right now, it just tucks into the neck, but I’ll add snaps for next time.

My original plan for this build was to alter some boots I had on hand, but I realized too late that I didn’t have white leather/pleather paint on hand. Even with Prime shipping, I knew I wouldn’t have enough time to paint before my shoot, so I drafted up some quickie boot covers using the saran wrap method. They’re… okay. I’m definitely planning to revisit these in the future.
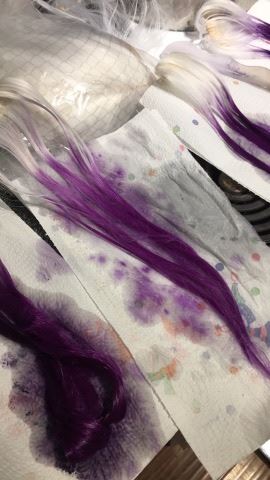
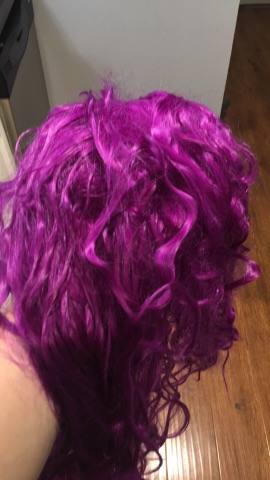
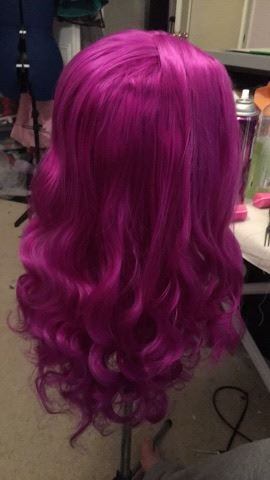
The wig was kind of a crazy challenge. Cornelia has an odd fuschia hair color that is more pink than purple, but after searching high and low for months, I couldn’t find a wig color that really worked for her. So instead, I dyed it! I referred to Arda’s wig dyeing tutorial (linked above) and advice from Victoria Bane. Essentially, I took a white wig, mixed pink and purple iDye Poly together and dropped my wig in for about 5 seconds. From there, I washed the wig out a few times, let it dry, and restyled it. Next time I shoot this, I’d like to add a few extra wefts, especially around the front of the wig and tease the base to get some super CLAMP style volume.
Thoughts on this Build:
Aside from a few fixes here and there, this has honestly been one of the most gratifying builds I made in 2017. I’m really happy with how almost everything turned out, and I’m so excited to cosplay more stuff from this series! Hopefully I can get around to making her gunblade and ridiculous cape next time I shoot this costume. I can’t wait to start on R2 stuff with Koholint!
Are you a fan of Code Geass? Who’s your favorite character?

One thought on “Costume Notes: Cornelia li Britannia (Code Geass)”