 After months of hemming and hawing, I finally decided to take the leap and get started on Lulu! The first part I completed was the hoop skirt which will act as the base for her belts.
Lots of Lulu cosplayers have gone with a faux apron approach for the belts and created a separate piece that the skirt snaps on. I took that a step further with this project for a couple of reasons: 1) I’ve always like artwork where Lulu had a fuller skirt in the back, and a hoop skirt is a great way to get that effect, and 2) I wanted something fairly sturdy that wouldn’t kill me after wearing it all day. The shape of this crinoline was popular in the mid- to late- 1860s, and provides an excellent base for several pounds worth of floofy skirts. Fingers crossed that it also works out for my belts!
The Basics:
Pattern: Truly Victorian 103
Total Hours: Around 20
Fabric: About 2 yards of fabric (I used duck cloth for the front half and a mystery cotton blend from my stash for the back half).
Alterations: Added about 3″ length and reduced the overall circumference of the hoops.
Notions: Thread, grosgrain ribbon, steel boning, boning tips and connectors, duct tape (yes, you read that right), boning channels, belting, thin ribbons.
Did it look like the pattern illustration?: More or less, given that I pretty drastically reduced the overall circumference.
Were the instructions easy to follow?: For the most part.
Make it again?: If I have a need for another hoop skirt, for sure! Otherwise, not a chance. My fingers are still raw from all the hand stitching.

Other thoughts: The overall construction of this hoop skirt is pretty straight forward. The directions are mostly clear, though there were a few times I had to read over directions a couple of extra times to wrap my head around it since I’ve never made something like this before. If you’re following instructions to the letter, it’s not bad at all, as they provide all the mark lines necessary to give you an even, balanced cage. However, I made quite a number of alterations that definitely added to the overall time for construction.

My big alteration right off the bat was to reduce the circumference of the skirt. That required a fair amount of calculations, and I used this tutorial to determine the circumference for each of my hoops. Ultimately, I decided to go with a 100″ circumference on my bottom hoop, which is almost 30″ smaller than the original pattern.
The base of the skirt is constructed with a bag, which prevents the wearer from walking through the hoops. It’s assembled in 6 pieces. To accommodate my reduced hoops, I removed the back 2 pieces.

Once the bag is assembled, you add the vertical grosgrain ribbon straps which act as the basic support structure for the skirt. This is where things started getting tricky for me, since I initially added 5″ based on my waist to floor measurement, but then had to reduce that overall length since it proved too long. Figuring out where to place the vertical straps on the bag was also a challenge, since I couldn’t use the original marks on the pattern. My placement changed quite a bit as I started adding the upper hoops.

Hoop connectors made forming the lower hoops pretty simple. I struggled with the first couple, but then I started using duct tape to temporarily hold the ends of the hoop together. This was a great fix while I clamped the hoop connectors in place. I had the best luck using my normal pliers to do the initial clamping, then using my jewelry pliers to really get a tight fit. The only drawback to this configuration is that I had a hard time getting my boning casing over the connectors, so I covered them with some scrap fabric. Probably won’t be visible once the belts are on, but why not?
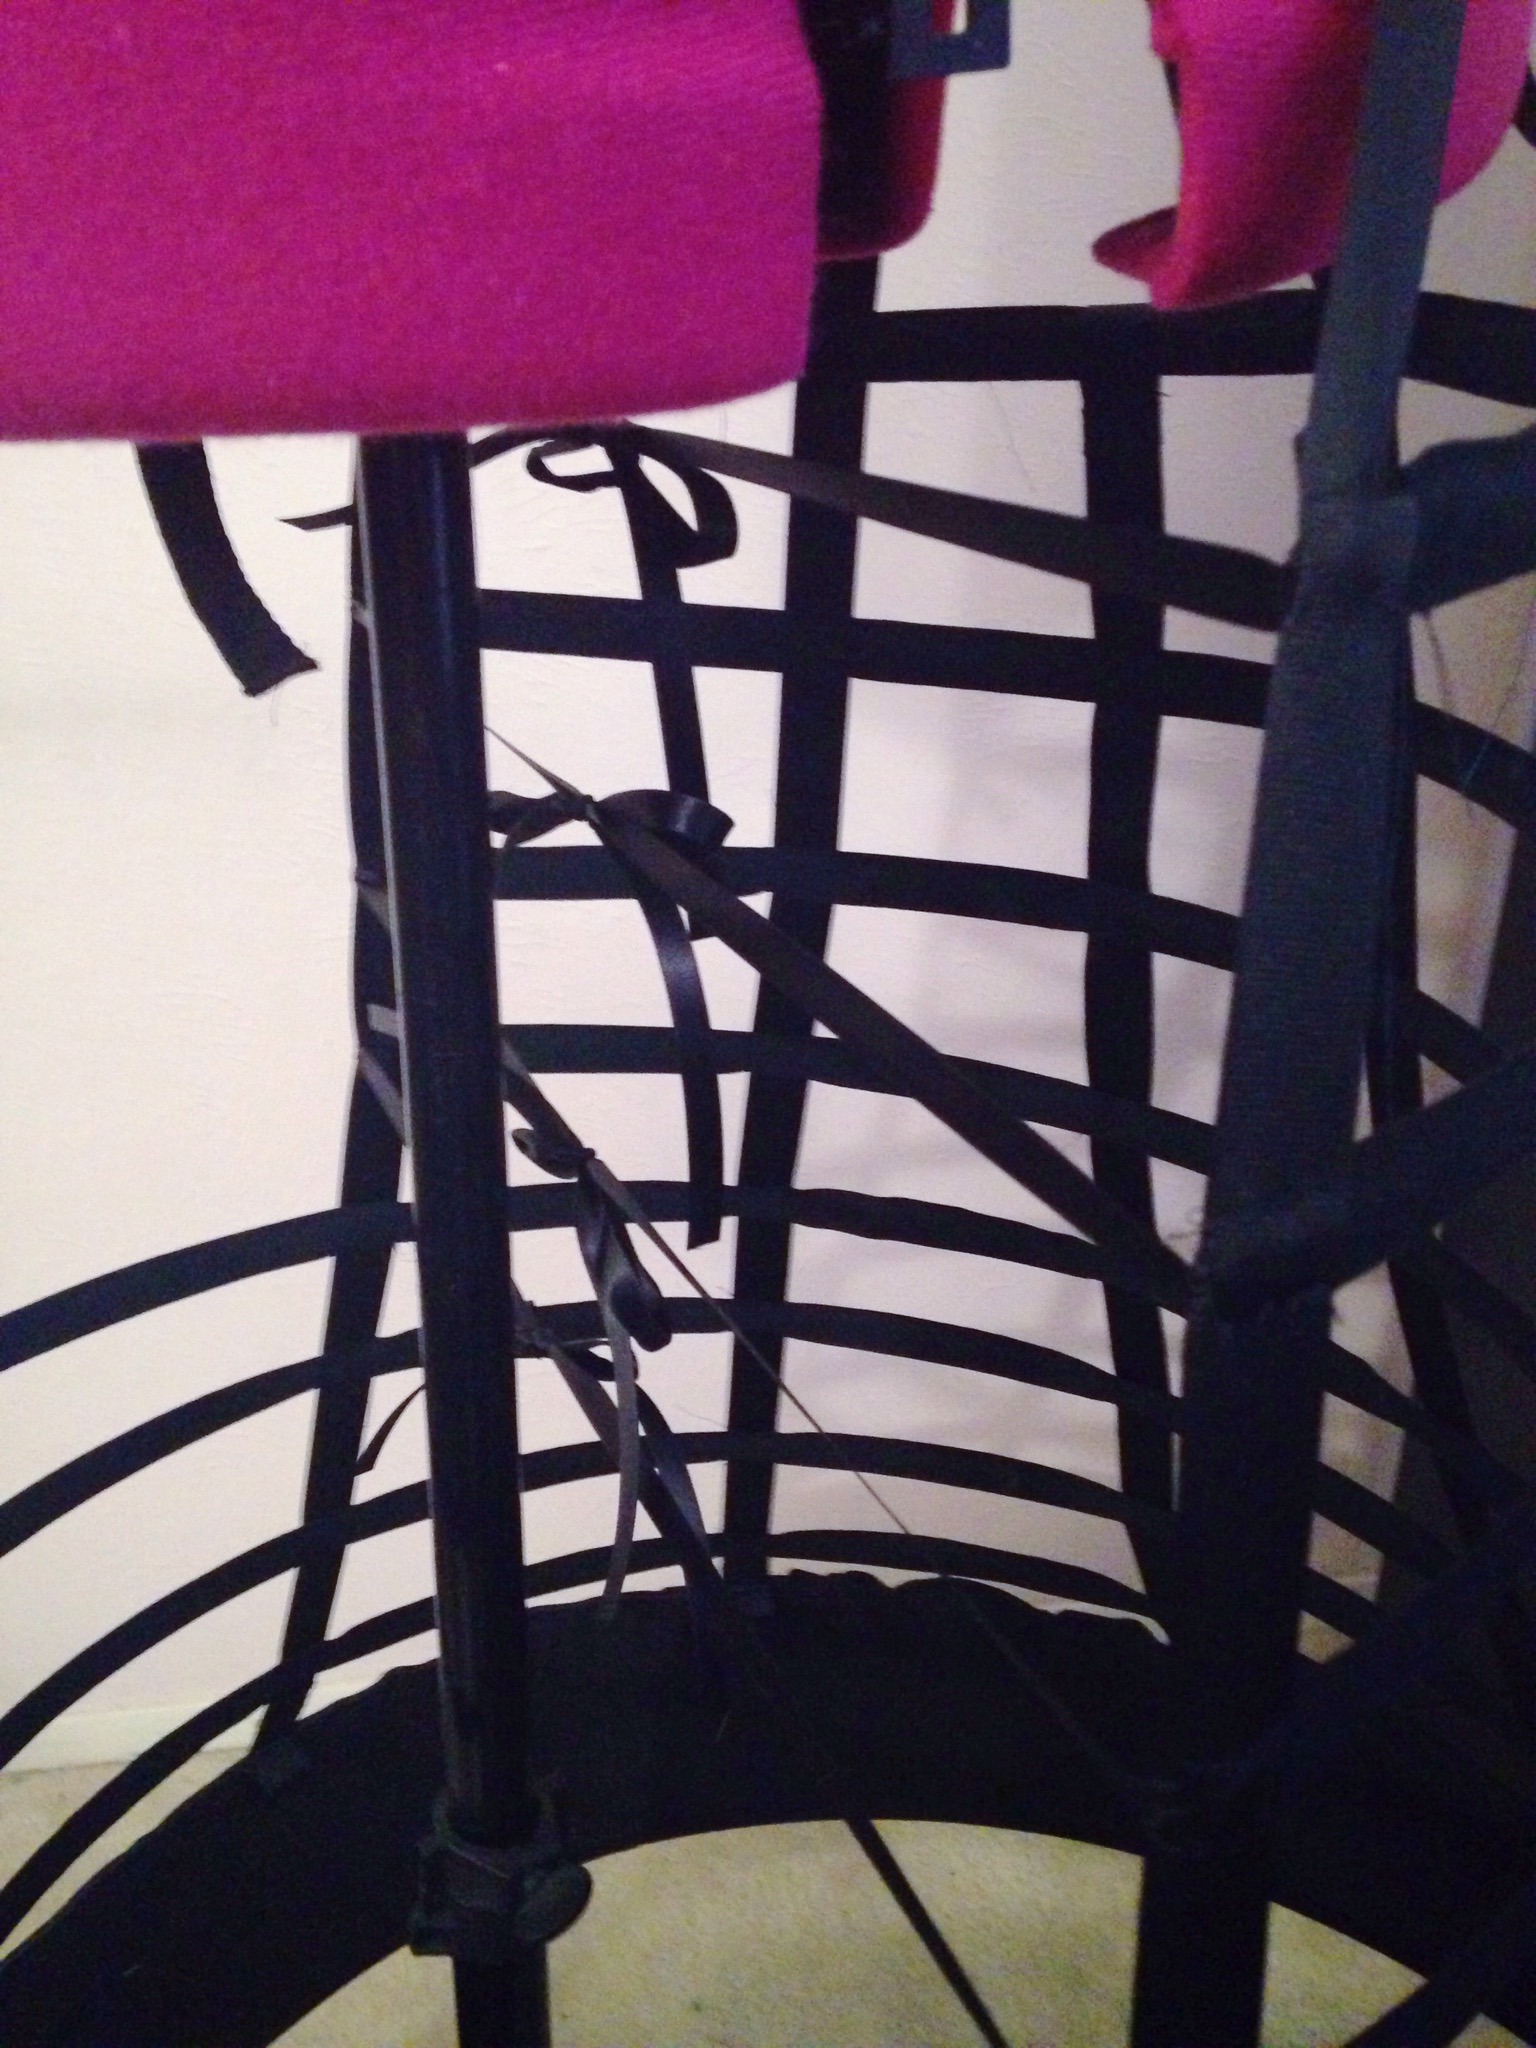
For the upper loops, I did have a bit of a coordination challenge sliding the U-tips over the ends. I found it easiest to hold the tip down with my finger and clamp the sides with one set of pliers. While holding the pliers, I grabbed a second set of pliers and clamped the tip and around any exposed edges.
Leveling the hoops was one of the biggest challenges of this project. Again, I couldn’t go off the placement lines from the pattern, so it took a lot of eyeballing and readjusting with pins. Once I was finally happy with the placement of all the hoops, I set about hand stitching the top and bottom of each intersection. I initially tried doing this with a zipper foot on my machine, but my pins kept getting knocked out of place. So I just put it on my sad dress form, grabbed a drink, and went after it. It took about 3 sessions of 3-4 hours of sewing at a time. I think I watched 3 seasons of Parks and Rec while doing this 😛
All that said, I’m pretty pleased with how this project turned out. I’m really looking forward to adding the belts and getting started on Lulu’s other pieces!


This is a genius construction idea for Lulu’s skirt, thanks for sharing!
Thanks! ❤
Yay I am so excited to see the progress of your Lulu cosplay!!
Thanks, Jessica! I’m really excited to dive totally into Lulu construction after my con this weekend!
This looks like it is going to work perfectly for Lulu! Great work! Can’t wait to see it progress!
This is very exciting! I am not familiar with Lulu, but her character design is fascinating and I love your approach to the costume. Good luck!
Thanks Meris!