I mentioned a while back that I finally indulged in a sewing machine with embroidery capabilities. This was mostly for Lulu and her insane lace trim, but I thought it’d be fun to learn how to do other things like making patches and such. Almost six months later, I finally got around to turning on my machine for the first time!
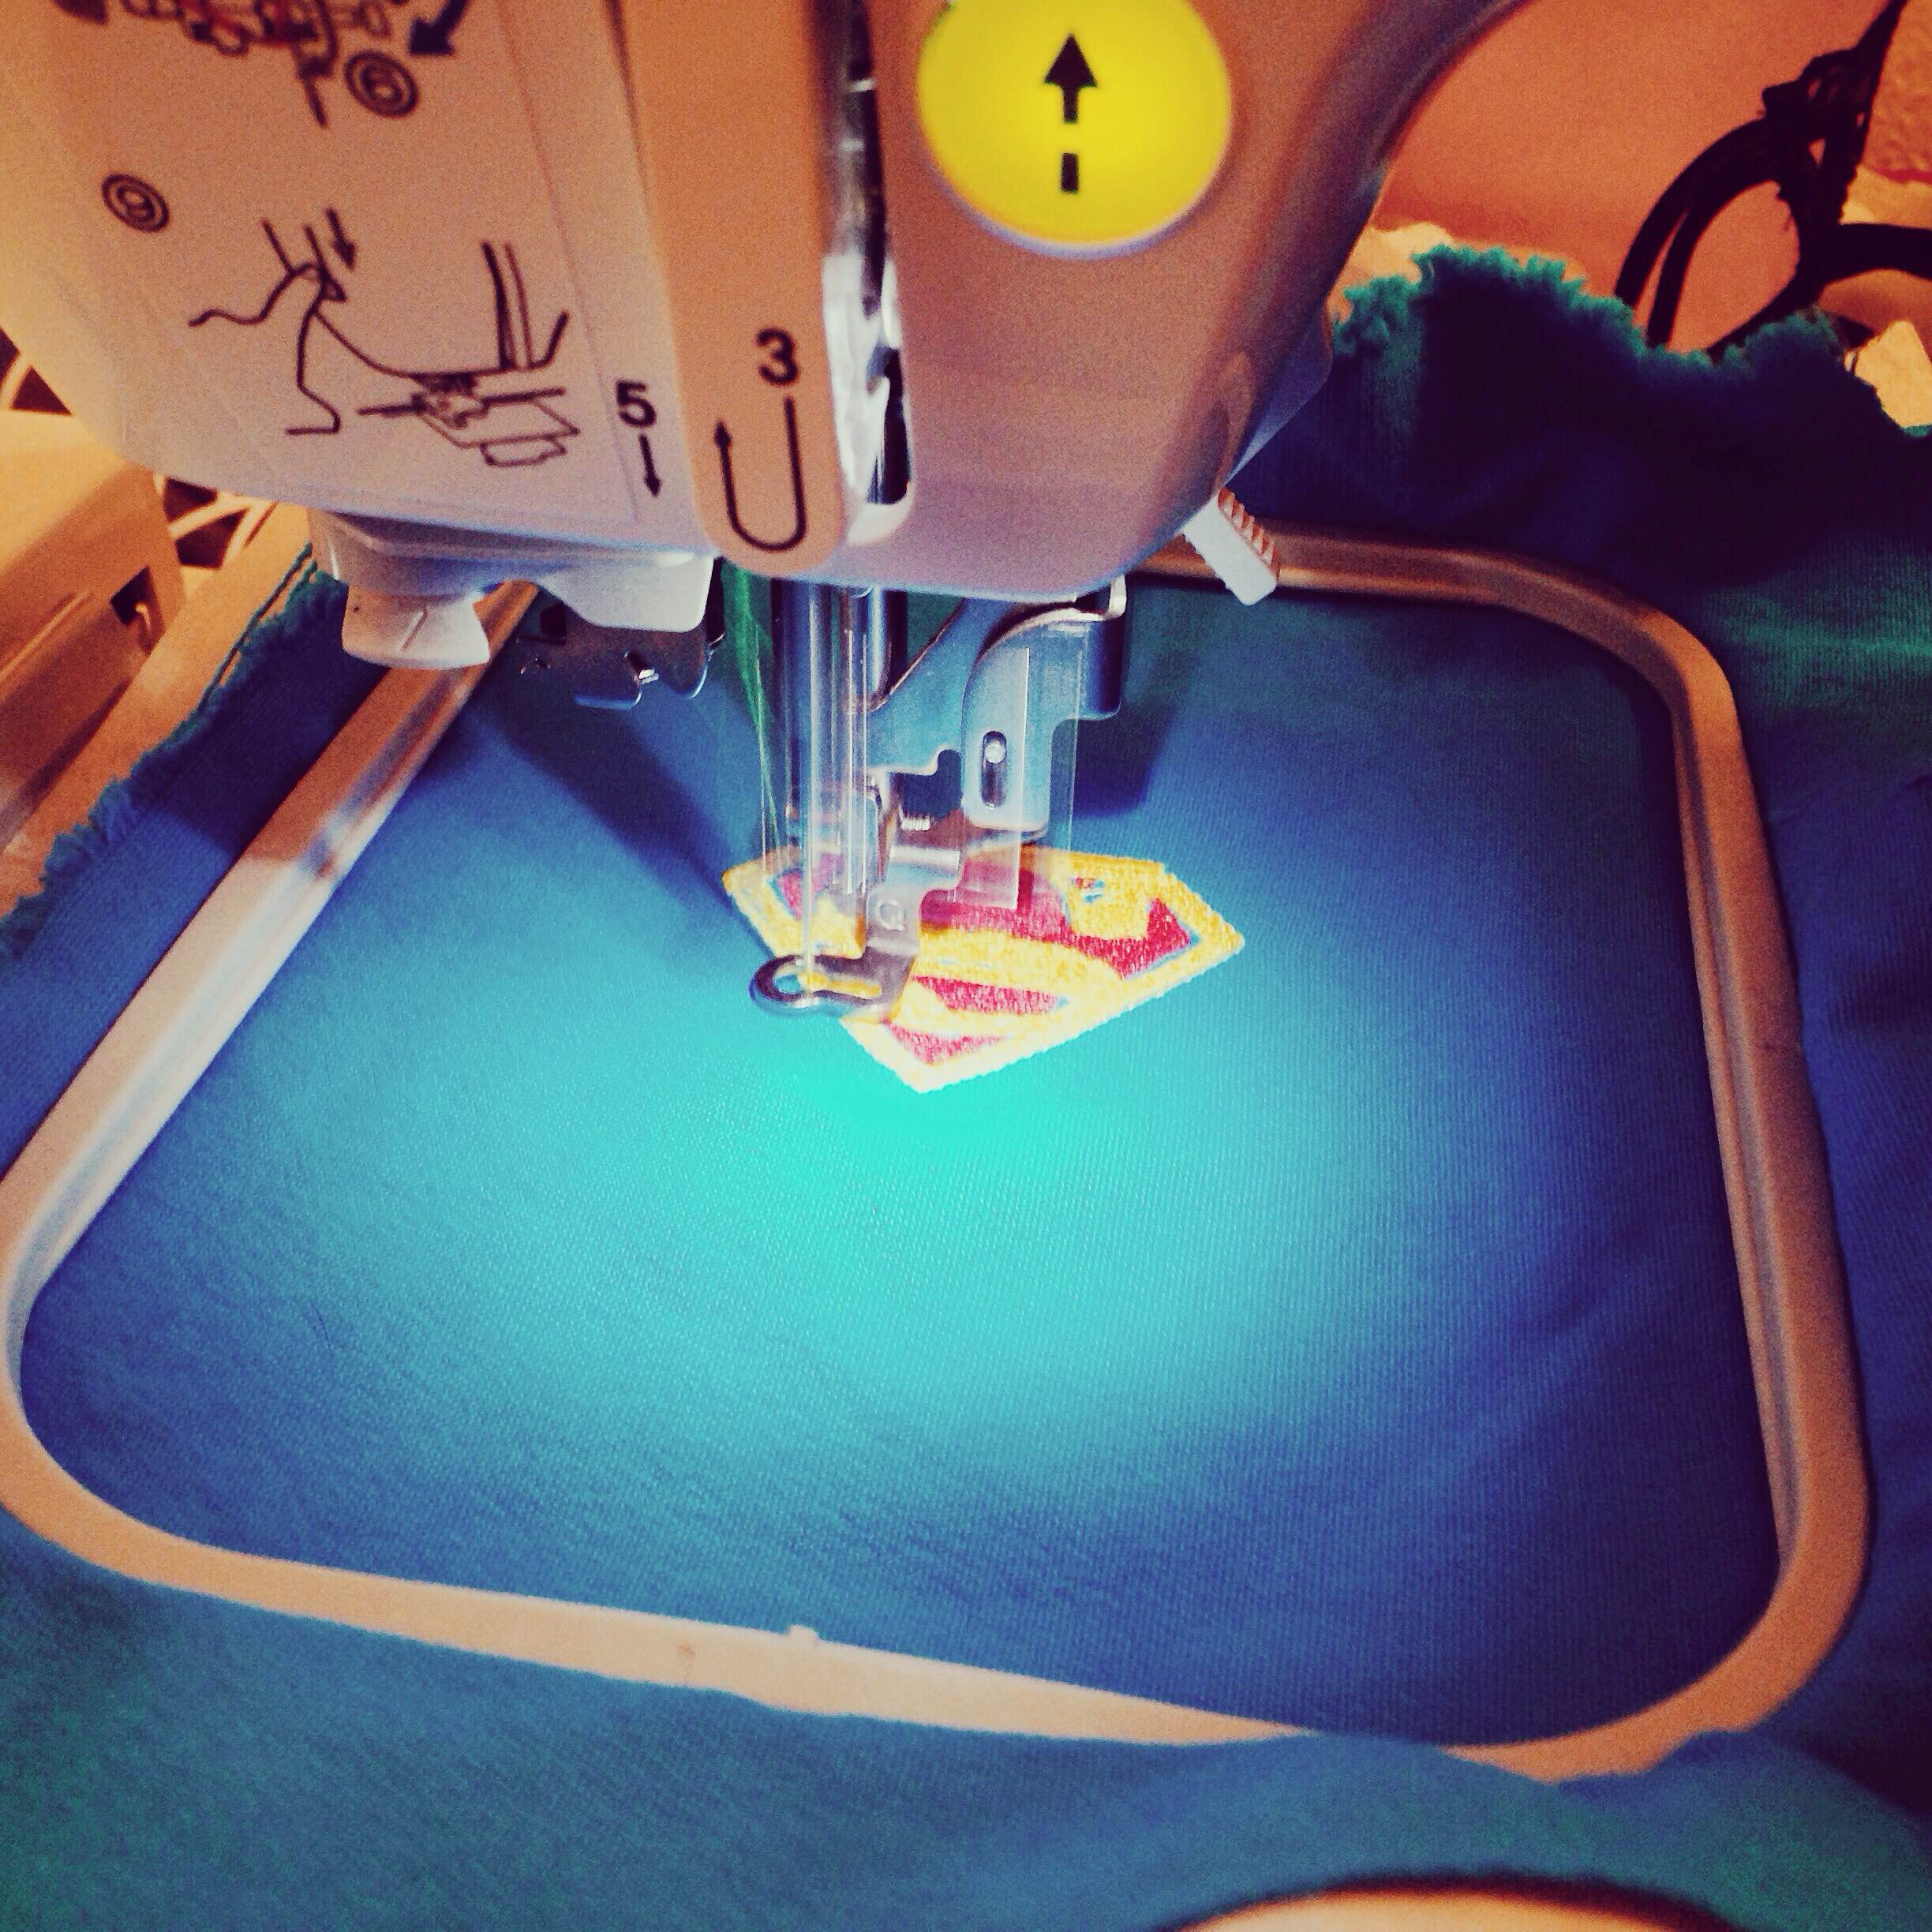
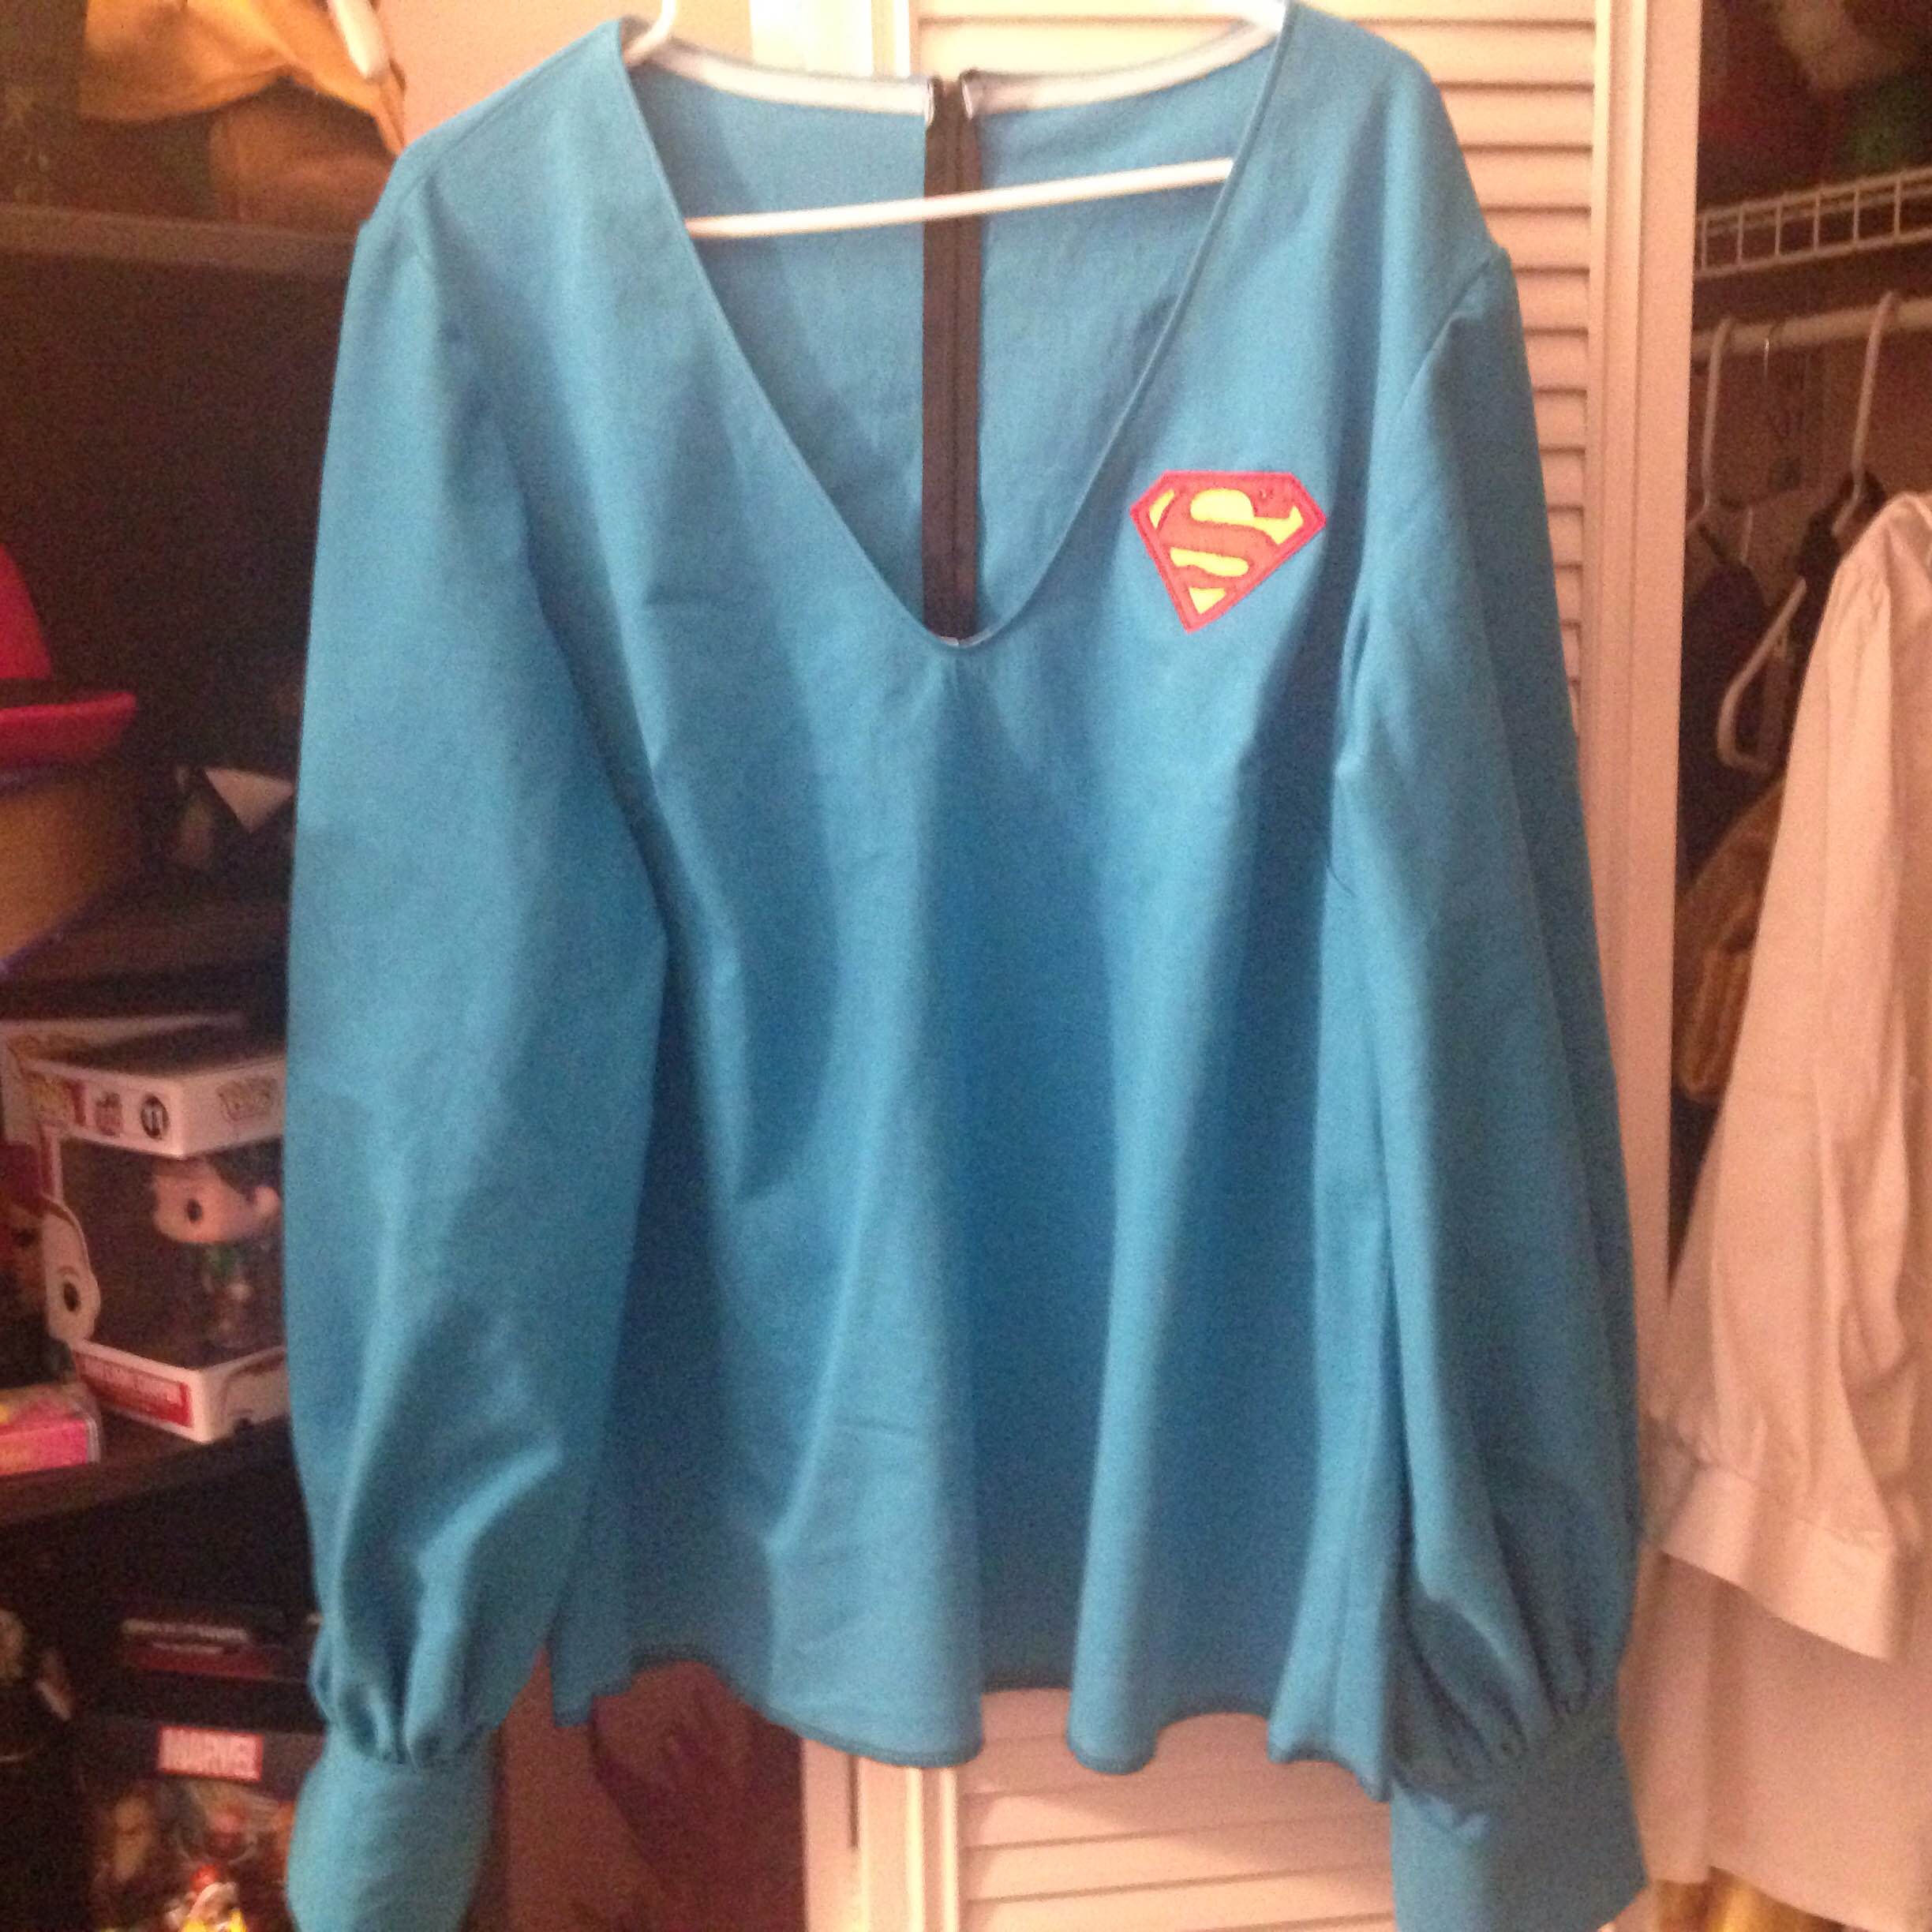
To break in my machine, I did a couple test runs of a Superman logo for a 1970s hotpants Supergirl commission. I purchased the logo off of Etsy, and it was pretty simple to transfer to my machine. Once I unzipped the file, I dragged it to the desktop on my Mac. After plugging my laptop to my machine, it was pretty simple to drag it to the machine’s drive and transfer the file. The machine came pre-installed with a bobbin of white embroidery thread, so all I had to do was put my embroidery thread in for the needle and let it go to work!
I did 2 initial test runs of this project on scrap fabric before moving on to the real thing. With my initial run, I mixed up the order of the thread, but it wound up working out anyway since I didn’t like the 2″ size.
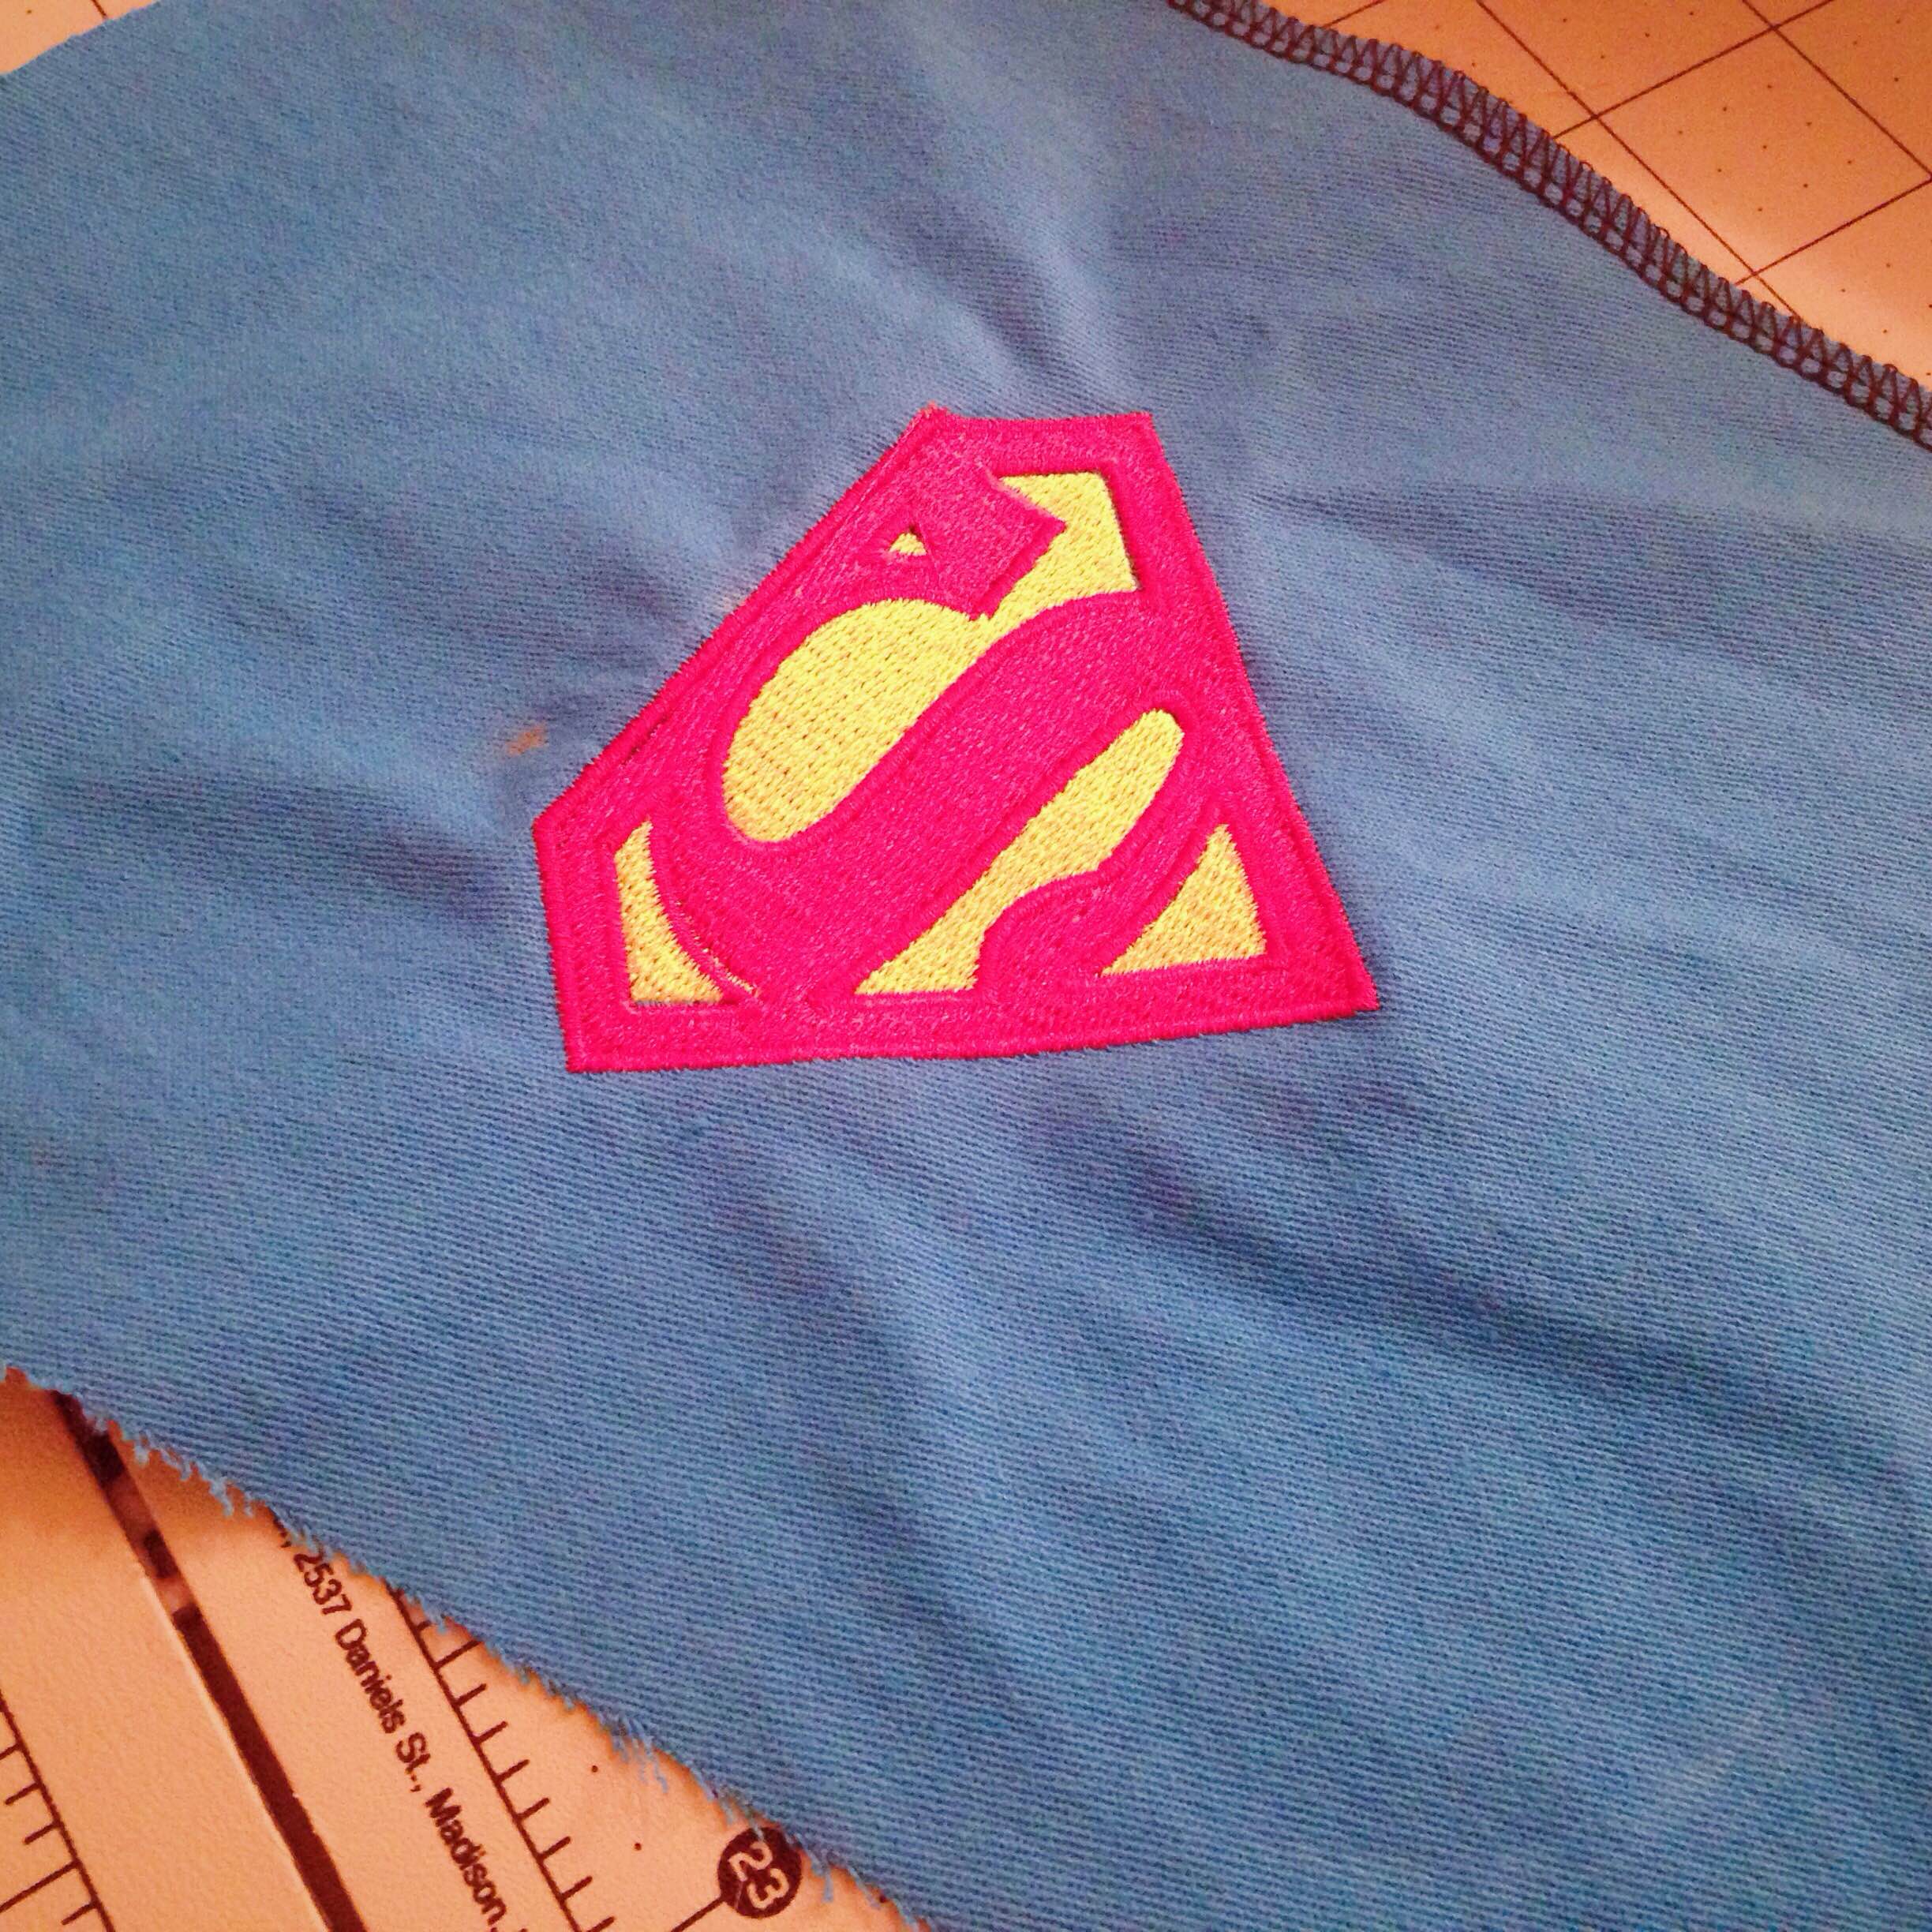
For my second run, I went with a 3.5″ logo. This time, I got the colors in the correct order and was overall pretty pleased with how it turned out. No problems whatsoever!
It was only when I got started with my commission that things started going awry. As soon as it started, the white bobbin thread was the only thing showing. Okay, no big deal. I threaded the bobbin incorrectly. Easy fix.
Then the bobbin not only ran out of thread, but it created a huge knot on the wrong side of the project. Okay, deep breaths. Snip away all the extra threads, re-thread the bobbin, and install everything correctly this time.
At this point, my stabilizer was perforated and wonky, but I was also concerned about re-hooping my fabric and hitting the wrong place. So I snapped the hoop back in place and hoped for the best. While the final product turned out fine, it’s not quite as awesome as my second test run.
So here are my main take-aways from this first dive into machine embroidery:
- While I wouldn’t call the embroidery interface intuitive, it’s pretty easy to use once you figure out where all the buttons are and what all the symbols mean. I had to stop in the middle of my final project, but once I figured out how to jump to different steps in the embroidery process, I was able to finish pretty quickly. Thanks, user manual!
- Stabilizers are your friend! This fabric is a medium weight twill with a touch of stretch to it. I used a cut-away Sulky stabilizer that I had on hand for this project. I do need to pick up a can of basting spray ASAP though. I think that would have helped with my final logo.
- When in trouble, double check threading. Most of my final issues were due to user error.
And here are a couple of resources I found super helpful:
- BurleySew: Lots of video tutorials on working specifically with the Brother SE400.
- Embroidery Library: Some great tips and tricks on embroidery, including information on which stabilizers to use with different types of fabric! They’ve also recently released several video tutorials.
Have you done any machine embroidery before? How did you like it?

That is so awesome! The logo turned out really good!
Jessica | Pyreflies.org
Thanks, Jessica! 🙂
Nice work! The logo turned out nice and crisp! If you were doing lace work, would you use a wash away stabilizer? My forays into embroidery have been mostly in hand embroidery, but I do do a bit of work with embroidery with my regular machine using straight stitches or variants thereof. My favorite was a pair of jeans I covered with a cut up silk scarf and then used straight stitches to bind the two fabrics together, but I also wrote a tutorial not too long ago for embroidering your kids’ art onto t-shirts. My second son had made a drawing of this adorable little robot and I couldn’t NOT put it on a t-shirt.
Thanks, Elizabeth! I recently checked out a tutorial on doing lace work, and they recommended a wash away stabilizer, just like you mentioned. I’ll have to check out your tutorial soon!