Completed: August 2018
Hours Spent: 30-ish
Purchased Pieces:
Patterns Used:
Super Helpful Tutorials:
How I Made it:
Ahhhh, this was such a fun build! My friend Ash (and one of my favorite photographers) is really into One Punch Man, and a few months ago she asked if any of her cosplay friends could help turn her dad into Saitama. I jumped at the opportunity, especially after I decided to watch the show (much to Koholint‘s delight).


I started with the base bodysuit for this build. It’s fairly straightforward, but because of that, I wanted to make sure all the details were correct and clean. I’ve used Kwik Sew 3029 several times at this point, so I was able to quickly note changes and modifications to the pattern (big shout-out to Victoria Bane for cutting these pieces for me!). The top just required adding a white collar portion and zipper. I chose to do the white portion as inset corners and also sewed in an exposed zipper. The rest was a very quick process. I zig-zag stitched the suit together, hit the seam allowance with my serger (overkill, but I like the final look), and added elastic to the ankles to give the pants more of a “puff” look.


The next piece was the cape. Again, big shout-out to Victoria Bane for cutting this for me! My go-to for any big cape is The Dangerous Ladies’ tutorial (linked above). After letting the pieces hang for a few days (let that bias settle, yo), I cleaned up the cape and stitched the fashion and lining layers together.
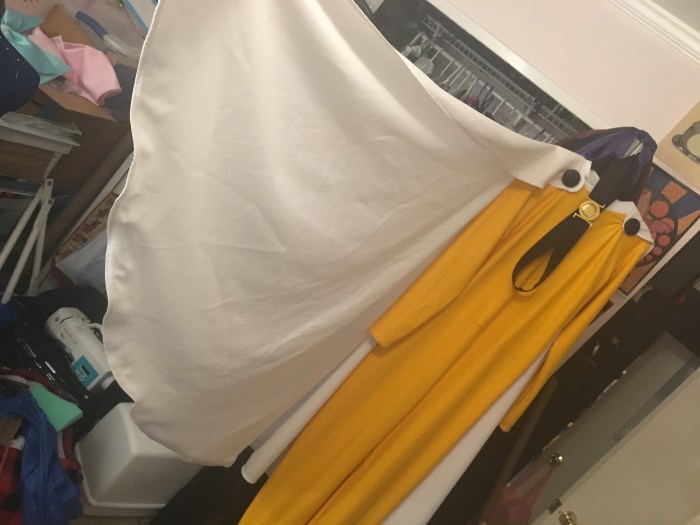
What I failed to realize was that my client’s measurements exceeded the length available on 60″ wide fabric. Thankfully, this wasn’t a lost cause. The shape of this cape will work very well for one of my upcoming cosplays, Nana Shimura from My Hero Academia. I held onto the cape for myself since it was already complete, and ordered 120″ fabric from Online Fabric Store for a new one. I again followed the same process, but this time at the proper length. After the new cape was sewn up, I hand sewed snaps to attach to the base leotard and sewed on the giant grey buttons (made from scraps of my Arsene vest!).

The boots were fairly straightforward. I ordered a base pair from Funtasma in my client’s size, stripped the varnish, and painted them with about 10 layers of Scarlet and Fire red from Anglus. Once they were fully painted, I hit them with Angelus finisher.


The gloves were a little more challenging. I had this bright idea to get some Captain America gloves and paint them to match the boots. However, the gloves were… garbage quality. They didn’t take the paint at all and basically fell apart the second I looked at them. Instead, I made a pair of glove toppers using vinyl that matched the boots. I also realized that the dye I used for Makoto’s gloves was a good match for the boots and vinyl, so I set out to dye a pair of men’s gloves from We Love Colors. It took about 6 washes to get them fully dye free.


To create the belt, I found a Saitama cosplay belt on Amazon. The buckle was fairly accurate, but the belt itself was okay at best. I purchased the belt, stripped off the buckle, and made a new belt out of black vinyl I had on hand.
Thoughts on this build:
This was such a fun build! I love how absurd this show is, and I’m glad I got the chance to make something from it. I can’t wait to see Ash’s dad as Saitama!

One thought on “Commission Notes: Saitama (One Punch Man)”