I stumbled across the DIY Bow Clutch Sewing Tutorial a few weeks back. At the time, I knew I wanted to make one for my blue satin Cambie dress, but I wanted to try it out just in case I screwed up. I had just enough fabric after my pillow sewing marathon to test the tutorial twice. Drumroll, please…

Whitney’s tutorial is pretty easy to follow. I’m very much a visual learner, and she’s provided several pictures to help with the process. The only part I wasn’t particularly fond of was not finishing the edges of the bow center. I didn’t do that for these (laziness), but my satin fabric is a shred-happy monster, so I’ll finish the edges of it off with a zig-zag stitch.
Since this was just a trial run for me, I played with different thread selections. On my first go, I went with black. That was mostly because I was lazy (recurring theme here) and black was the last thread/bobbin I had in my machine. It looks okay, but required reeeeeaaaaaallly precise stitching, particularly on the zipper.

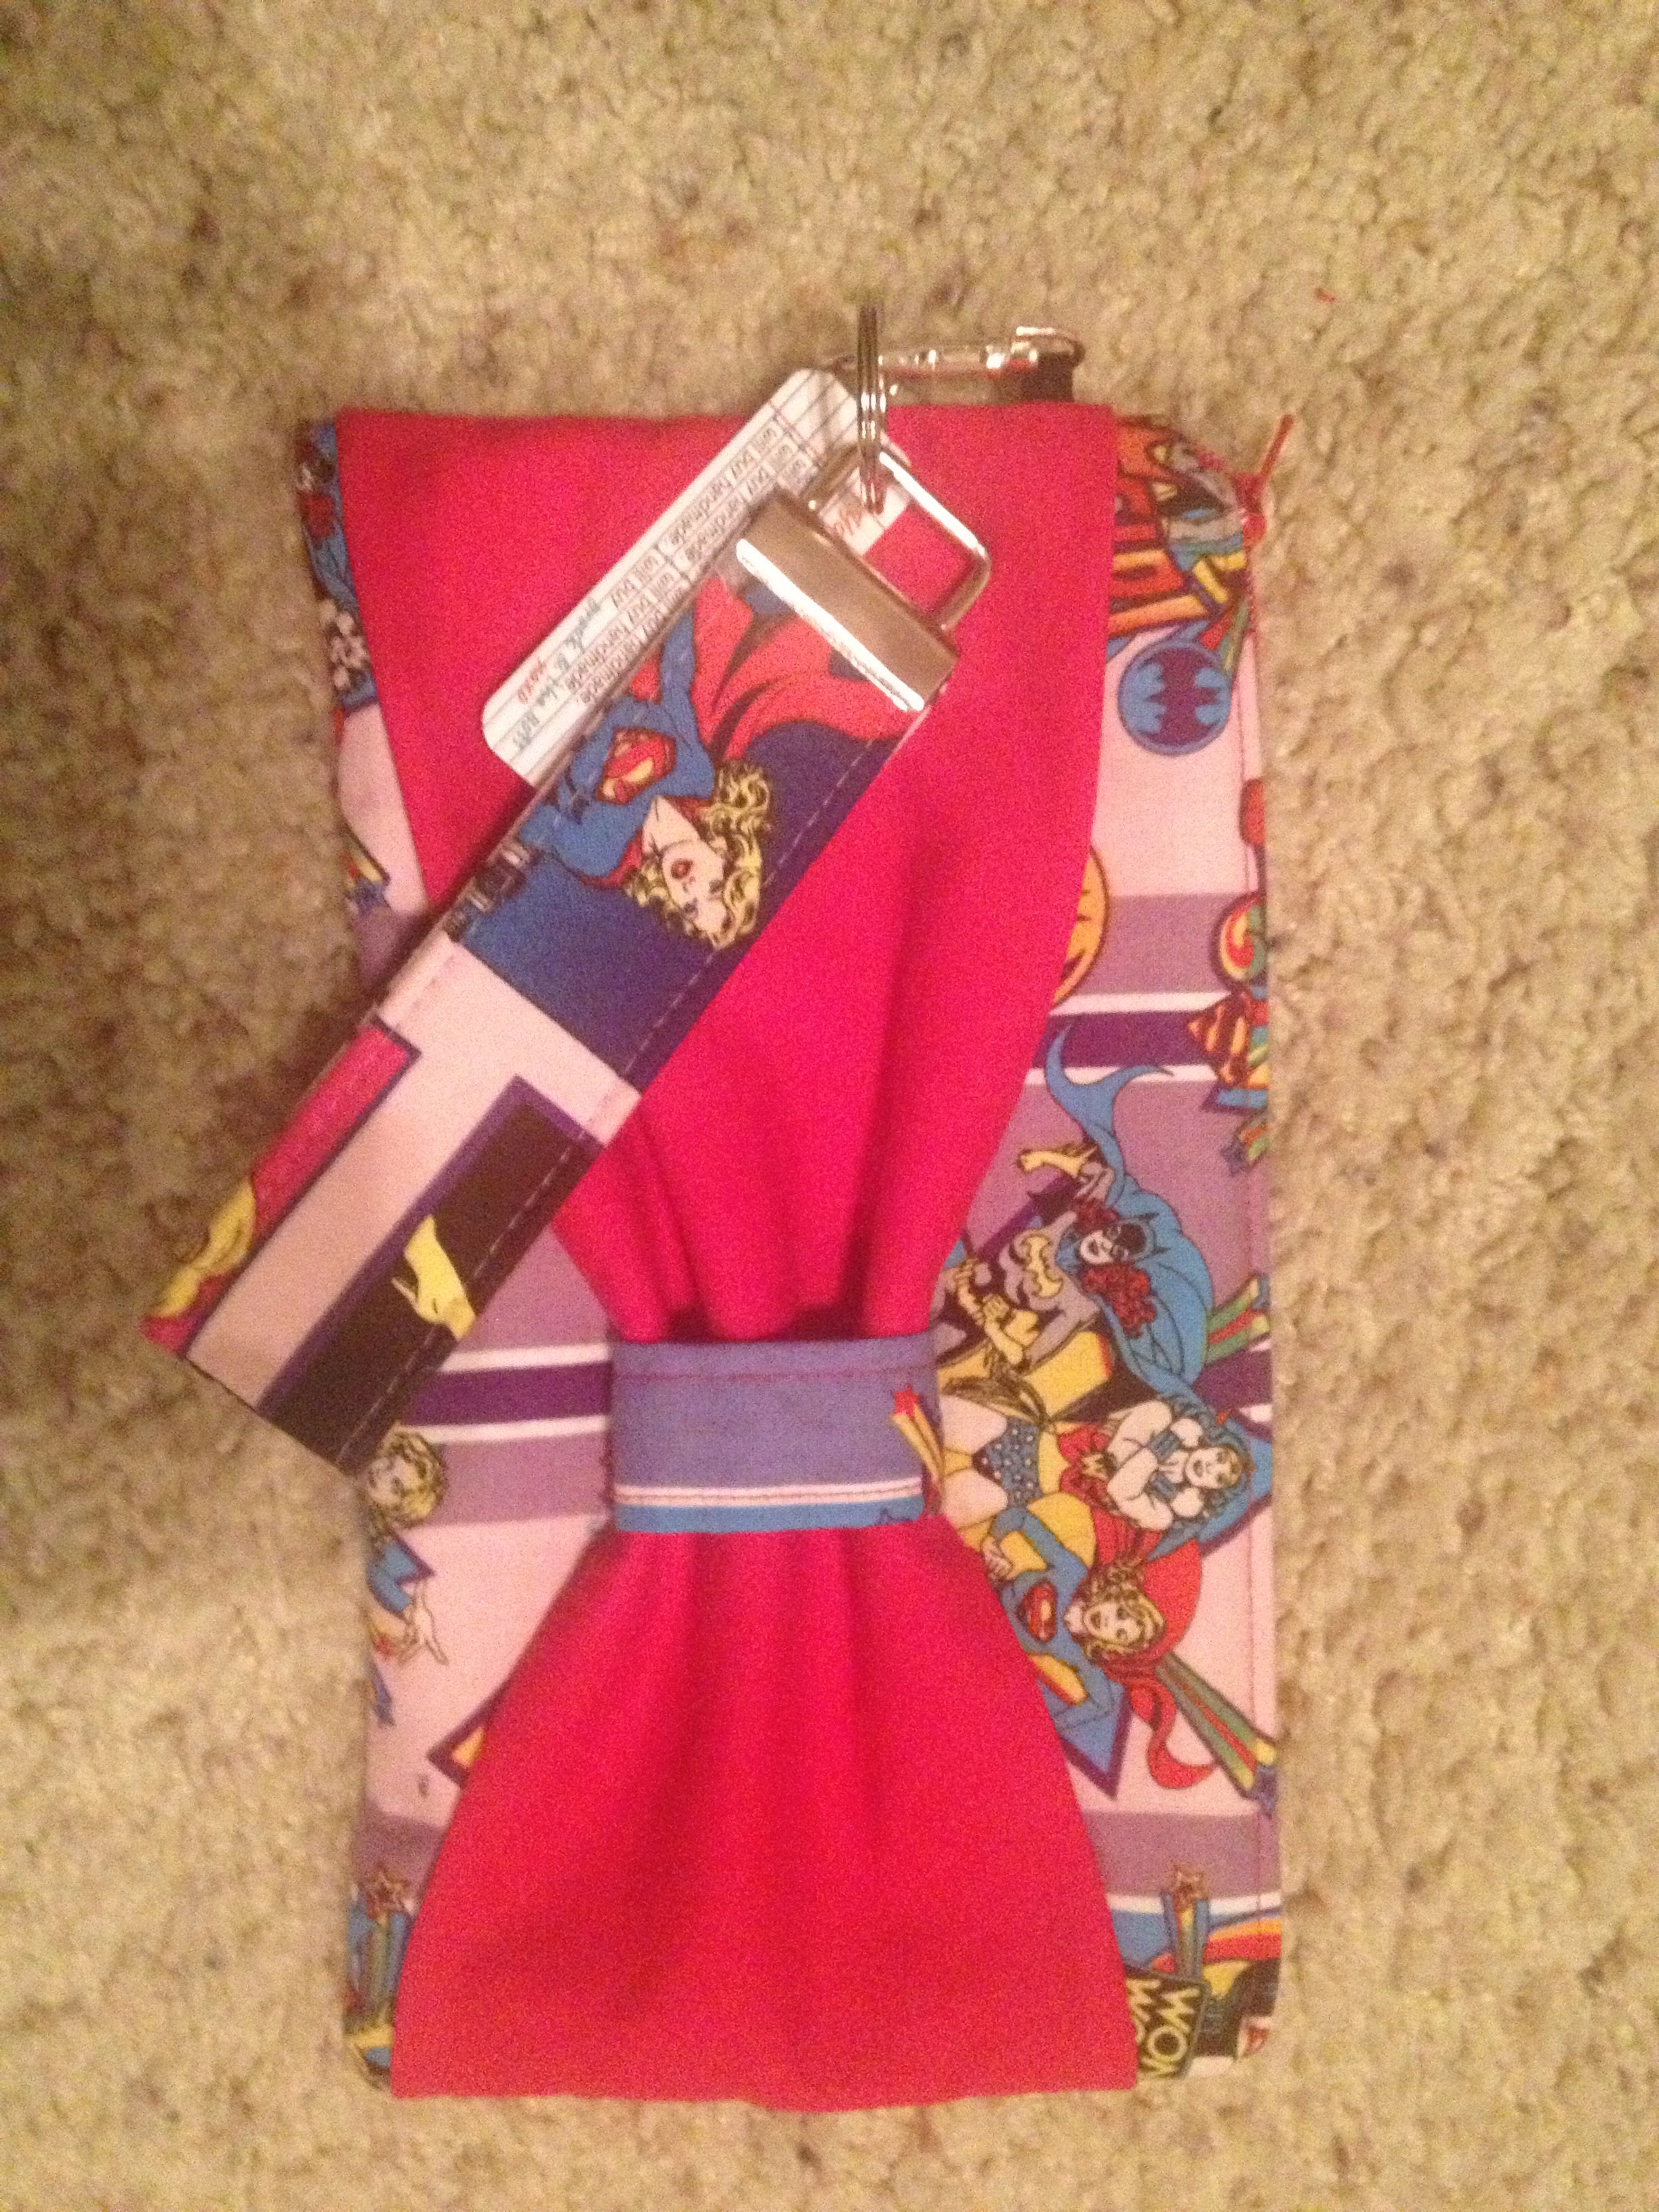
In my second go, I went with red instead and paid closer attention to my stitching on the zipper. I think it turned out a lot better.

Speaking of zippers, the tutorial says not to pin the zipper when sewing it to the front. I totally agree with that, but if you’re like me and a little worried about messing up, try WonderTape. This stuff is awesome. It’s basically double-sided washable tape. I use it for all my zippers, often in lieu of basting (because I am a lazy, lazy seamstress). Here’s where I learned about Wondertape.
I made one other deviation from the tutorial. A few months ago, I got hooked on these amazing Nerd Herders from Rockitbot (They had a Wonder Woman one that I bought shortly before DragonCon. Love. It). I had an extra Supergirl strap, so I swapped making a strap for adding a clasp attached with some scrap bias tape.
So who are these clutches going to? Well, the funky black-thread one is going in my “Keep” pile. I made a reversible tote with the same fabric a few months back, so I’m dubbing these my Con accessories.

My red-thread clutch with the Supergirl strap will be going to my mom (with a matching pillow). My mom is as obsessed with Supergirl as I am with Wonder Woman, so methinks she’ll like it.
If you’re looking for a fairly quick DIY gift for someone (or yourself) this year, the bow clutch is a great way to go. One of these took me about an hour, start to finish. That includes cutting. Since I only pulled from my fabric stash, I only spent $8 on the clasps (set of 4 for $4) and zippers.
Are you making any DIY gifts this year?

One thought on “Tutorial Share: Nerdy Bow Clutches”