
Whoooo!!!! 100 posts! Deadpool gives tacos to all of you!!!
Completed: October 2014
Hours Spent: Close to 30 hours
Debuted: Dallas Fan Days 2014
Why This Costume: This costume is actually my second full-fledged commission and first time sewing for a guy. One of my old friends contacted me back in late August saying he was interested in cosplaying at Fan Days. He’d never cosplayed before and wanted to do a more realistic Deadpool. It seemed like an interested challenge (HAHAHAHAHAHAHA) and a good chance to broaden my costume portfolio, so I agreed to take it on.
 How I Made It: As I mentioned, my friend was after a more realistic Deadpool. He knew right away that he didn’t want a full spandex bodysuit, so we used the above image as a reference and swapped out the bodysuit for a spandex top and pants.
The pants were my first task. I picked up some poly black and red twill from Golden D’Or and made them using Kwik Sew 4045 as a base. To give the pants more depth, I topstitched the black twill on top of the red. Since I was working with a crap ton of fabric, I ditched the side pockets since it would have been too much bulk, but kept the cargo and back pockets.

When my friend came over for fitting, we realized that this pattern had a metric shit ton of ease built in to the legs. I wound up taking in the legs by almost 4 inches on each side and the butt in by a full 2 inches. Dafuq? Of course, this meant that I had to take in the waist band as well. Le sigh…
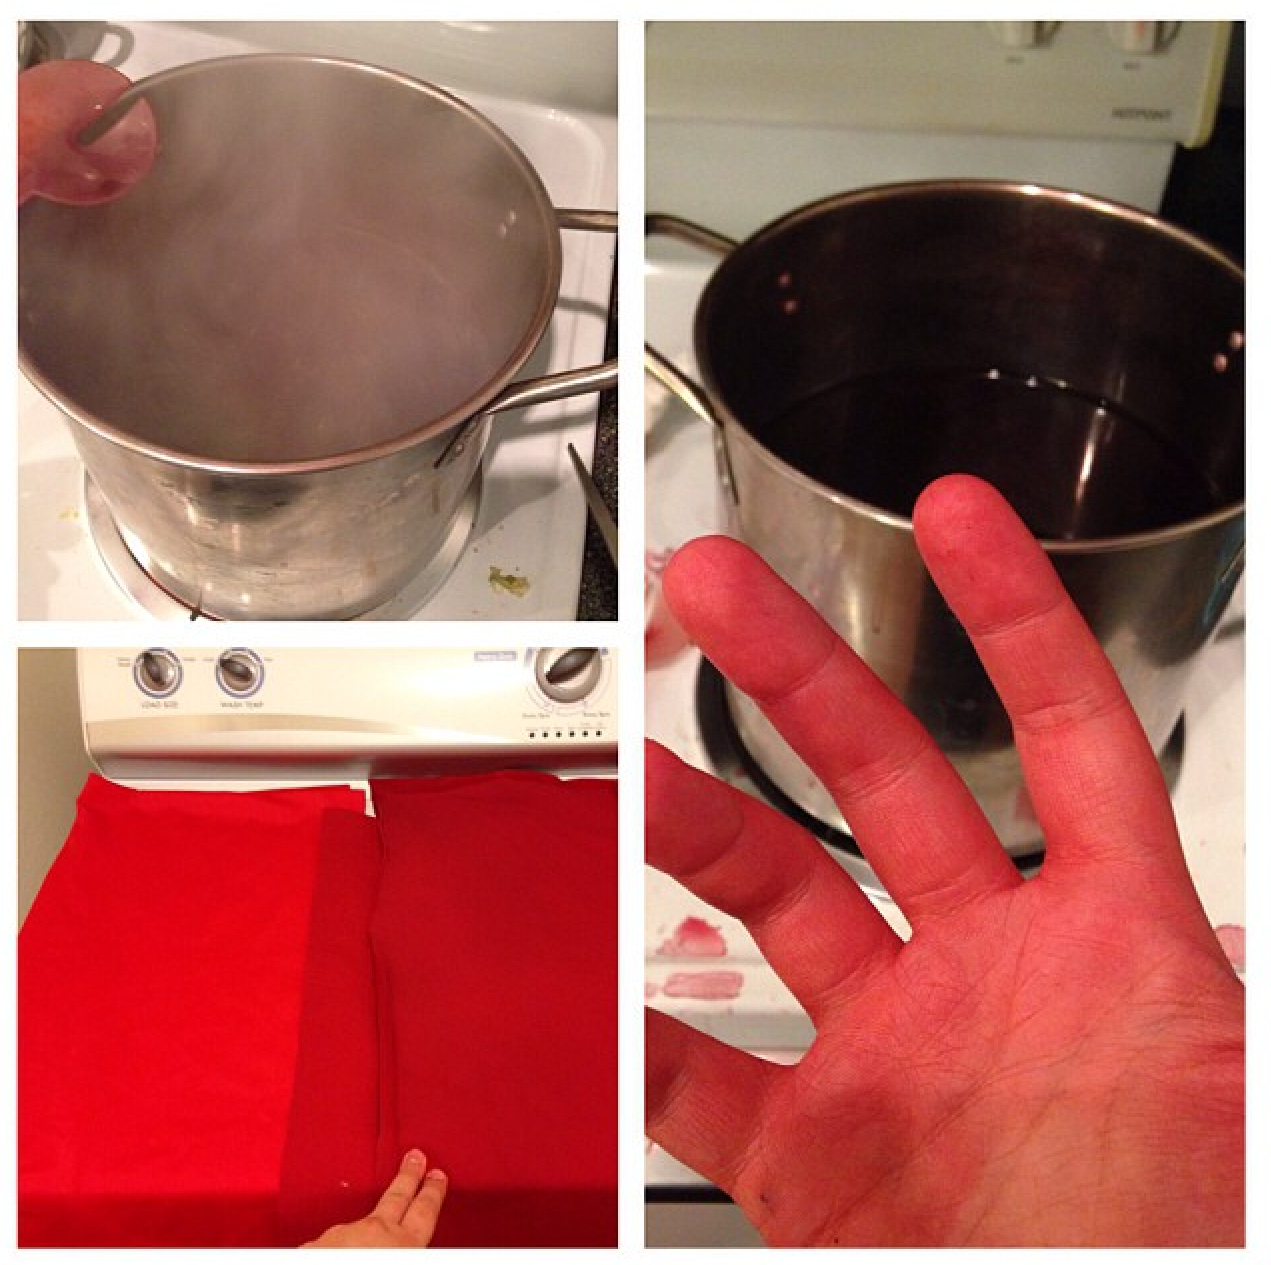
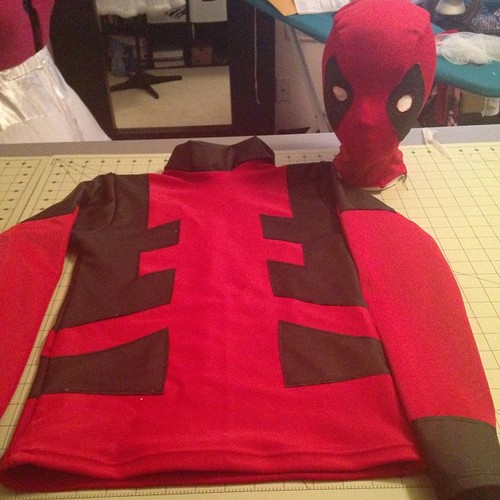
The top was a whole other mess of a challenge. I ordered my spandex from my go-to shop, Spandex World, in early September. After waiting a few days, I realized that FedEx lost my order. Two weeks later (and after a lot of phone calls from FedEx asking if I was really, really sure that my package wasn’t delivered), my fabric finally arrived, but it was the wrong color. In a last ditch effort, I attempted to dye the spandex using this tutorial. Lo and behold, it actually worked. Unfortunately, I had to chop up the fabric to get it to fit in the pot, and the dyes came out very different, so I had a limited amount of yardage to work with. On the plus side, I now have a half yard of very pretty burgundy spandex. I might need to make a miniskirt soon…
I added the black pieces using the same tutorial I used for Ms. Marvel. The black vinyl was absolutely perfect. To draft the pieces, I made a mock-up out of scrap fabric and drew the lines on while my friend was wearing it. I then cut out those pieces and trued them up on paper to use as a pattern. I didn’t take a picture of this step, but I’ll try to demo it when I get around to my spandex tutorial, promise!
Making the mask proved… difficult. I drafted a basic mask using this tutorial, but my first test mask was way too small and crushed the nose. The final mask was better, but the eyes were too far apart. My fabric was limited at that point, so I seam ripped the eyes and moved them in closer together. The “lenses” are a slightly stretchy mosquito netting. I got some real funny looks when I asked for 1/8 of a yard at the cutting table. Anywho, I’d like to make some test spandex masks when I have down time just to get a better feel for them. Let’s just say I know now why people charge $50-75 for masks alone on etsy.
Thoughts on this costume: Overall, I’m pleased with how this turned out and my friend really enjoyed his costume. I definitely learned a lot both technique wise (never knew you could dye spandex) and in regards to handling a commission (always, always, always get detail specifics before cutting into fabric).

I think now’s a good opportunity to mention that I am planning to open up for a small batch of 2015 costume commissions. I don’t intend to take on more than 10 or so, depending on complexity. You can find more information on details here. I’ve already got a few lined up, so let me know if you’re interested in getting on my list for next year!

Reblogged this on Comics In France, Ma revue sur l'actu comics VO and commented:
Nice Deadpool cosplay !
Great notes! The tip about dyeing spandex is especially helpful. I’ll have to remember that.
http://www.cosplaycents.com
Thanks! Yeah, that dye tutorial has changed my life. Just a heads-up if you try it: you only need to let your fabric soak for a few minutes. I think this batch was only on the pot for 2-3 minutes.
Great notes! The tip about dyeing spandex is especially helpful, I’ll have to keep it in mind.
http://www.cosplaycents.com
You did a fantastic job! Your friend looks awesome!
Thank you! 🙂
Looks great!!
Thanks! 🙂